If you want to lay a shape over text but still make that text readable or overlay several shapes to mix colors, you’re looking for a transparency feature.
We’ll show you how to change transparency in Google Slides a few different ways as well as how Plus AI can help you adjust and enhance the appearance of your presentation.
{toc}
How to make a shape transparent in Google Slides
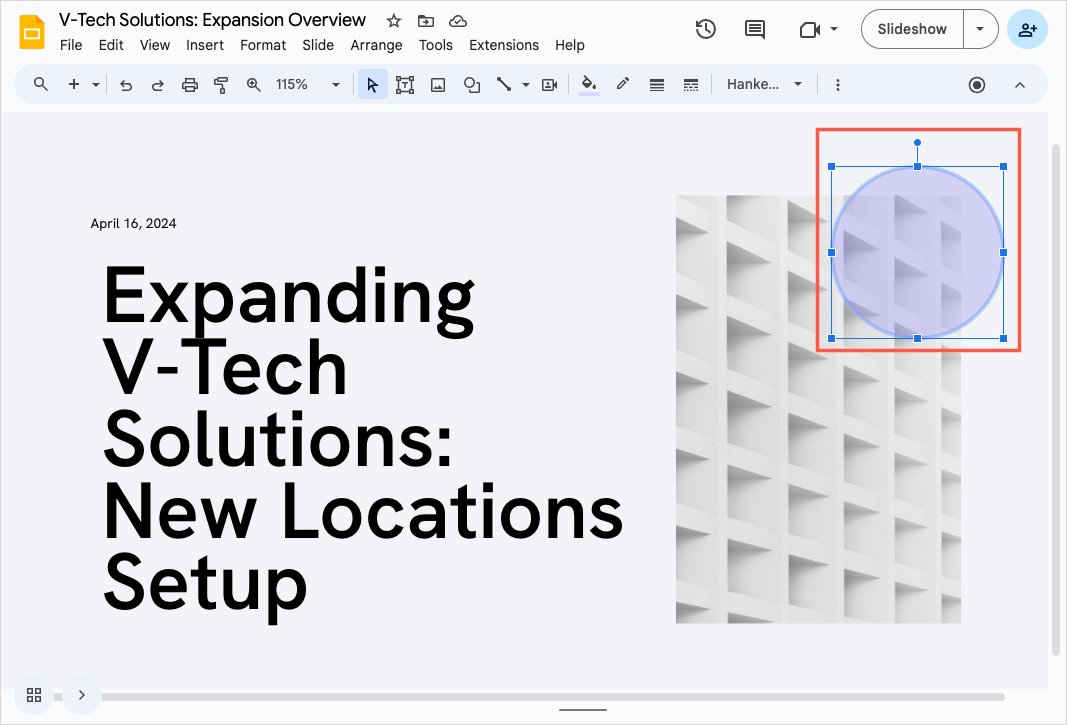
You can change the transparency for a shape easily in Google Slides. You’ll find a few preset options but can also customize the amount of transparency to apply.
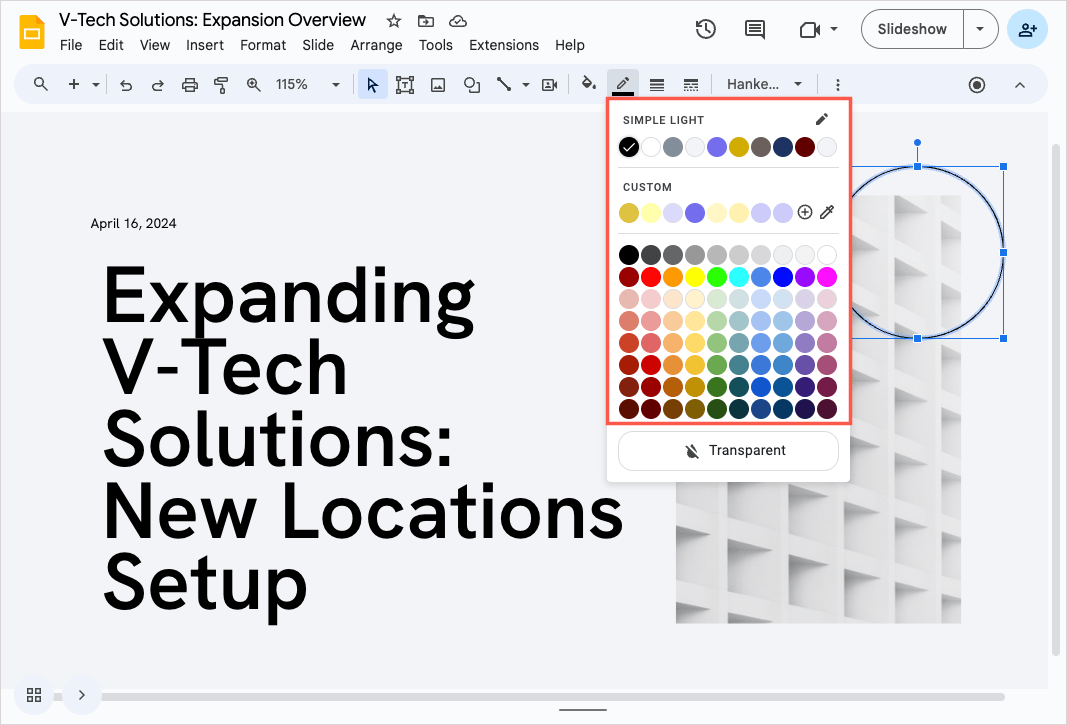
Select the shape and open the Fill color menu in the top toolbar. Then, do one of the following depending on the amount of transparency you want for the shape.
Use a preset transparency option
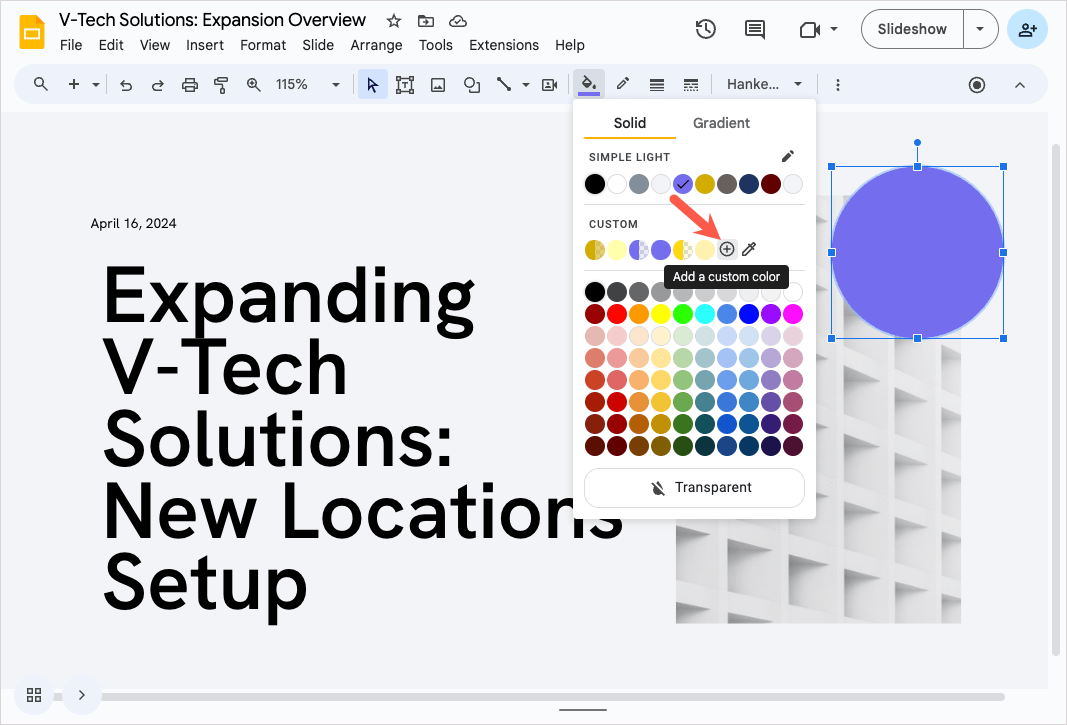
In the Custom section, you’ll see the presets available. When you hover your cursor over each, you’ll see more details on the color and amount of transparency. For instance, you can see a preset below has 75 percent transparency.
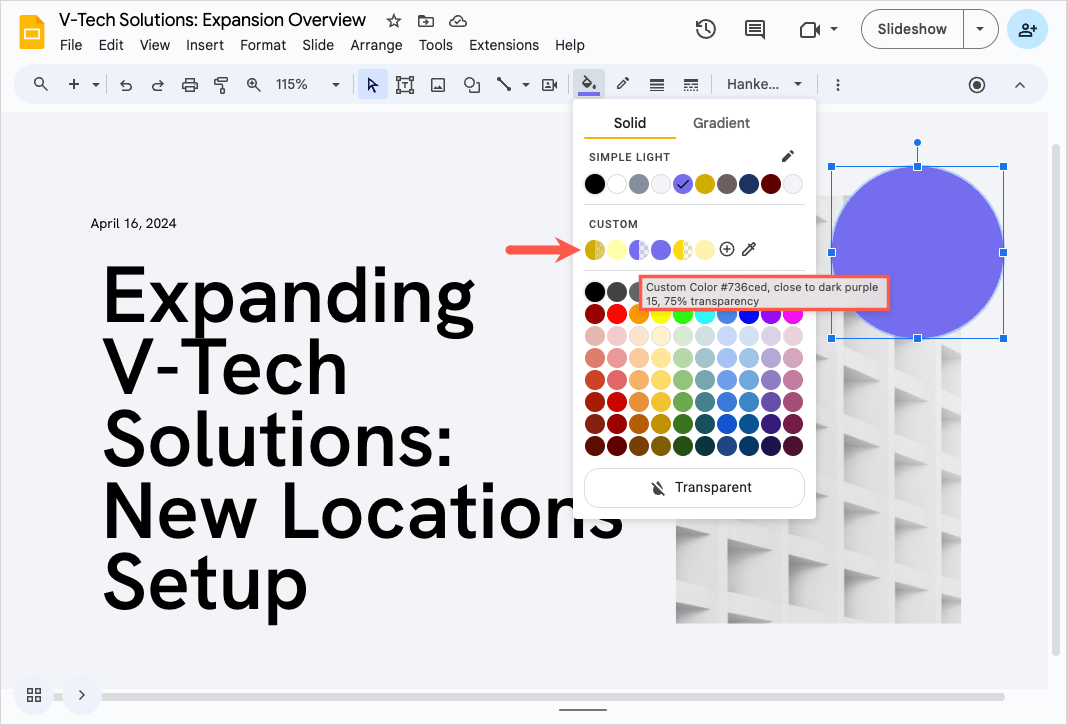
Choose a preset to update the shape immediately.
Customize the transparency
If you don’t like the preset offerings, you can choose the exact amount of transparency for the shape instead.
- In the Custom section, select the Add a custom color icon (plus sign).
- Drag the Transparency slider to the desired amount. You’ll see a preview of the shape on the left.
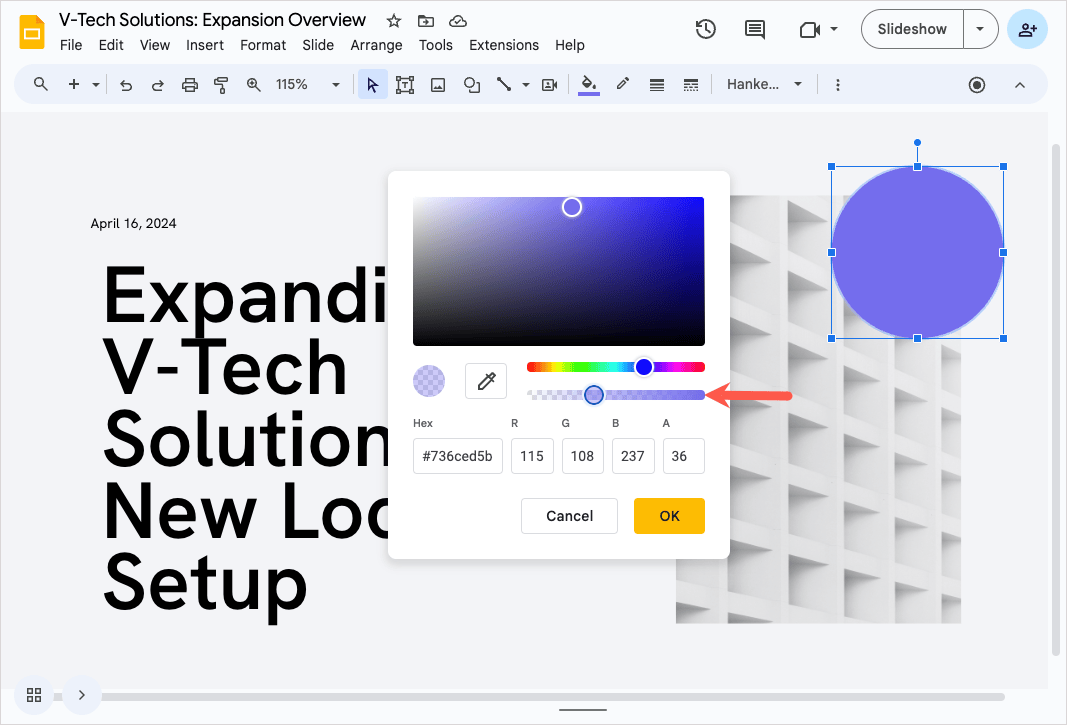
- When you’re happy with it, click OK to save the updated shape.

Apply complete transparency
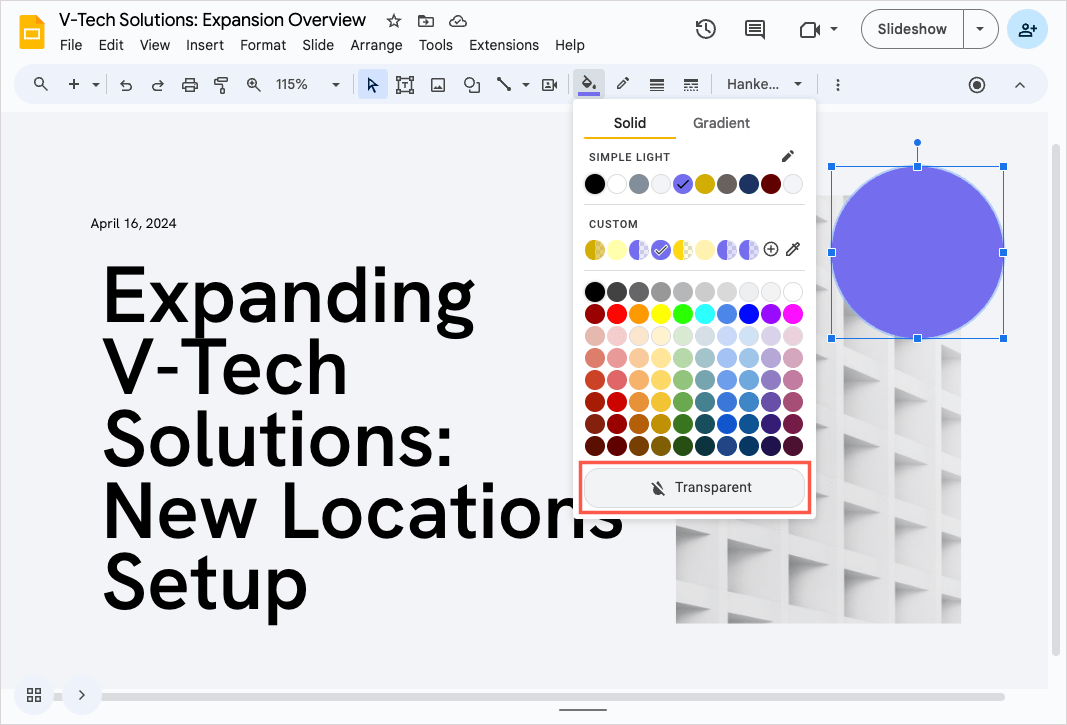
One more option for changing transparency of a shape in Google Slides is to make it completely transparent. You might use this if you want to include an outline of the shape but see through the inside.
At the bottom of the Fill color menu, pick Transparent.
Tip: If the shape doesn’t already have a border and you want to retain its outline, you can add one using the Border color menu in the top toolbar.
How to make an image transparent in Google Slides
You may have seen the Transparency option for photos and other images in Google Slides in the past. However, Google has updated Slides and changed that option to Opacity instead.
While opacity is different from transparency, you can use this setting for pictures in certain instances. For example, if you have a grayscale image, you can adjust the opacity to lighten it and make it appear more transparent as you’ll see below.
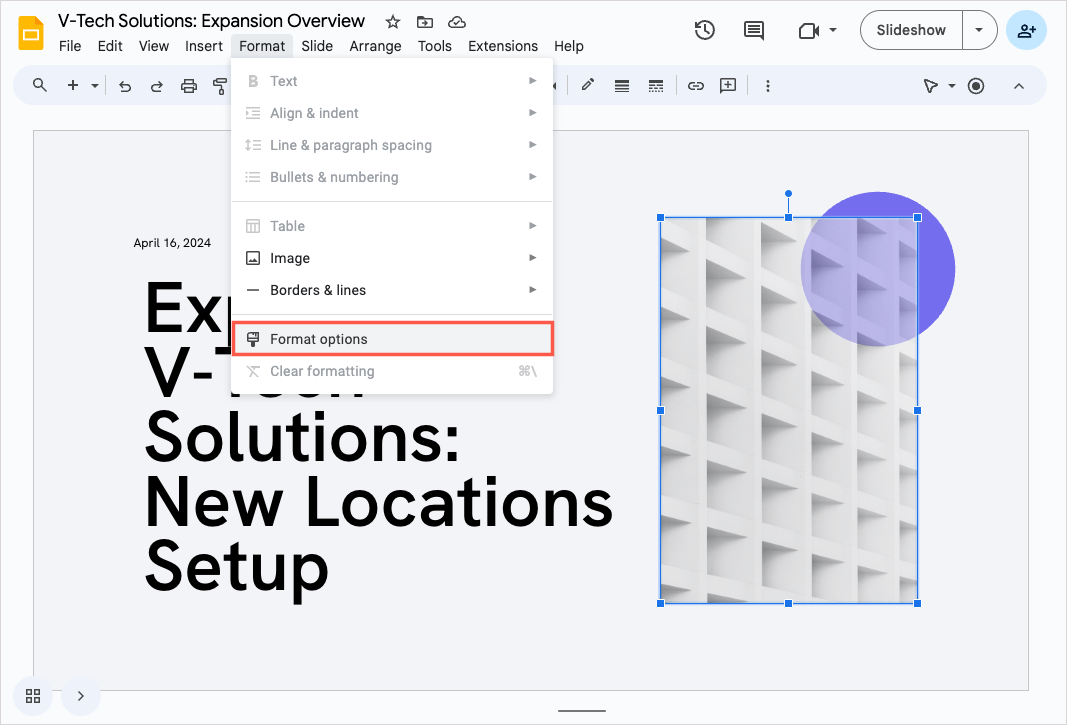
- Select the image and do one of the following:some text
- Click Format options in the top toolbar.
- Select Format > Format options in the menu.
- Right-click and pick Format options.
- When the sidebar opens, expand Adjustments and use the Opacity settings to make your change.
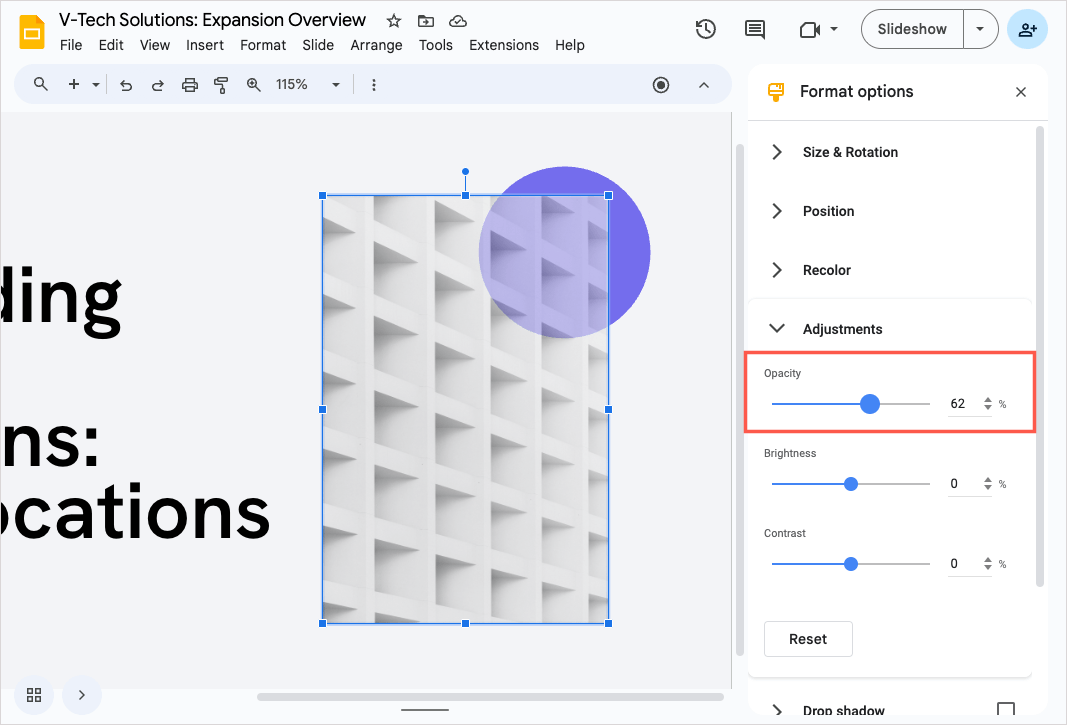
- You can drag the slider, enter an amount in the box on the right, or use the arrows to increase or decrease the opaqueness.
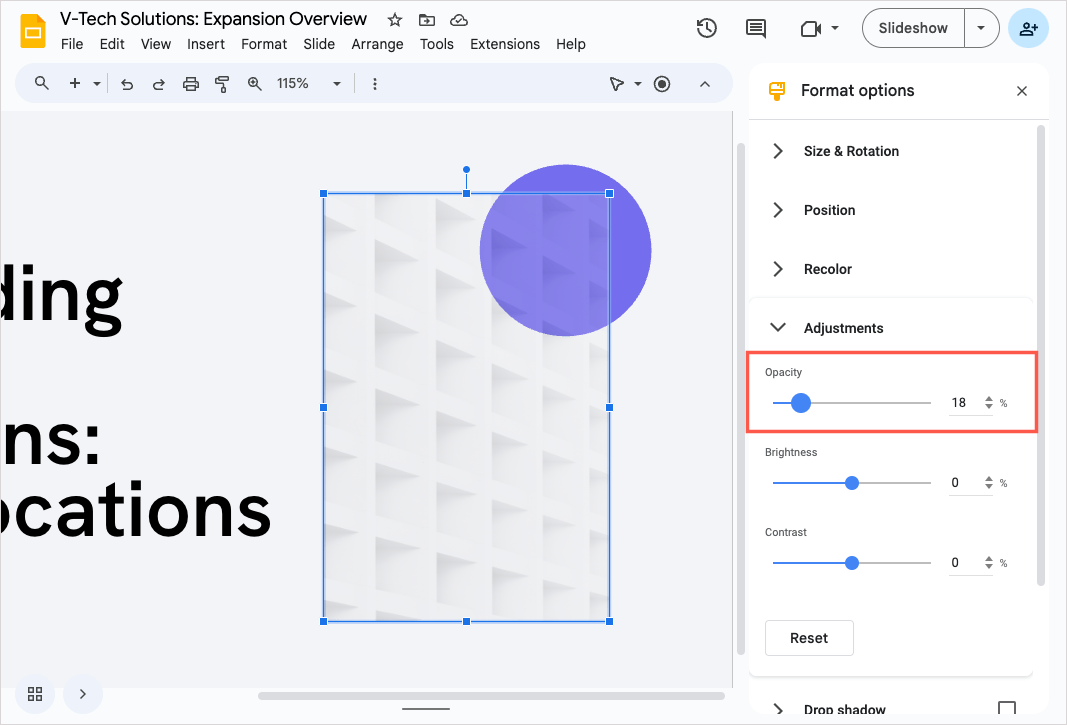
- You’ll see your image update immediately. If you don’t like the result, you can revert the image to its original state by selecting Reset at the bottom of the sidebar.
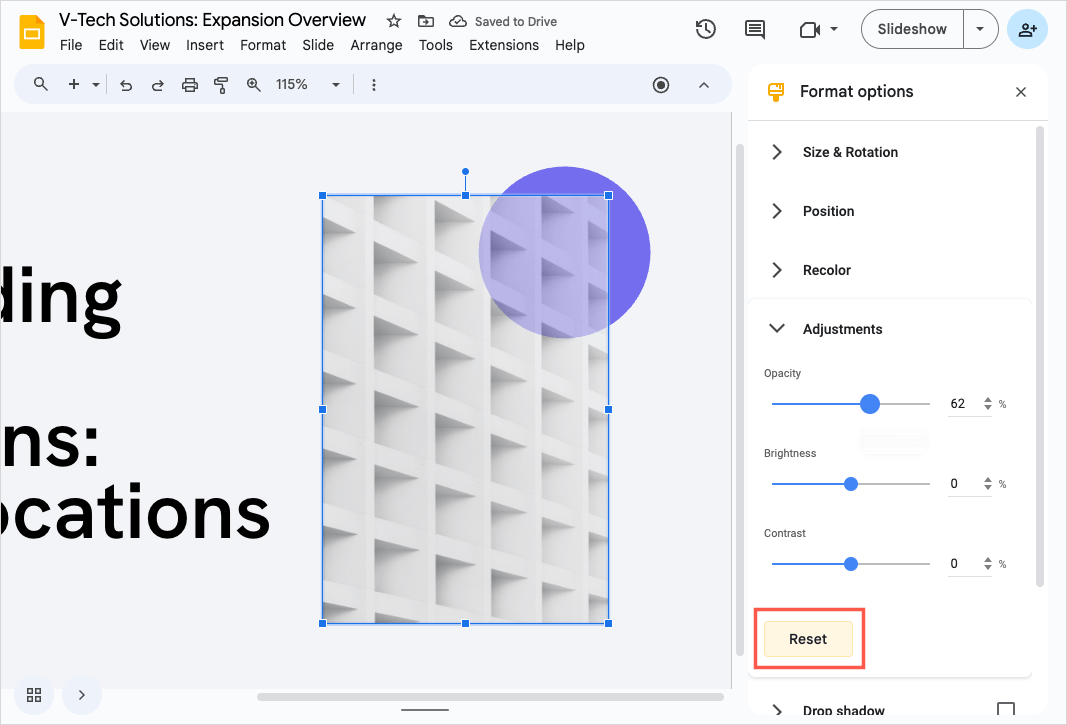
Then, use the X on the top right to close the sidebar when you finish.
Remember, this doesn’t technically make the image transparent like with a shape. So, if you don’t get the look you’re seeking, you might consider a third-party image editor for the job.
Tip: Wondering how to add your SVG image or GIF? Check out our guides for importing an SVG as well as inserting a GIF in Google Slides.
Enhance your slides with Plus AI
If you need help finding appropriate images or even the right words for your Google Slides presentation, look to Plus AI. Using artificial intelligence, Plus AI creates eye-catching slideshows with well-written content based on your instructions.
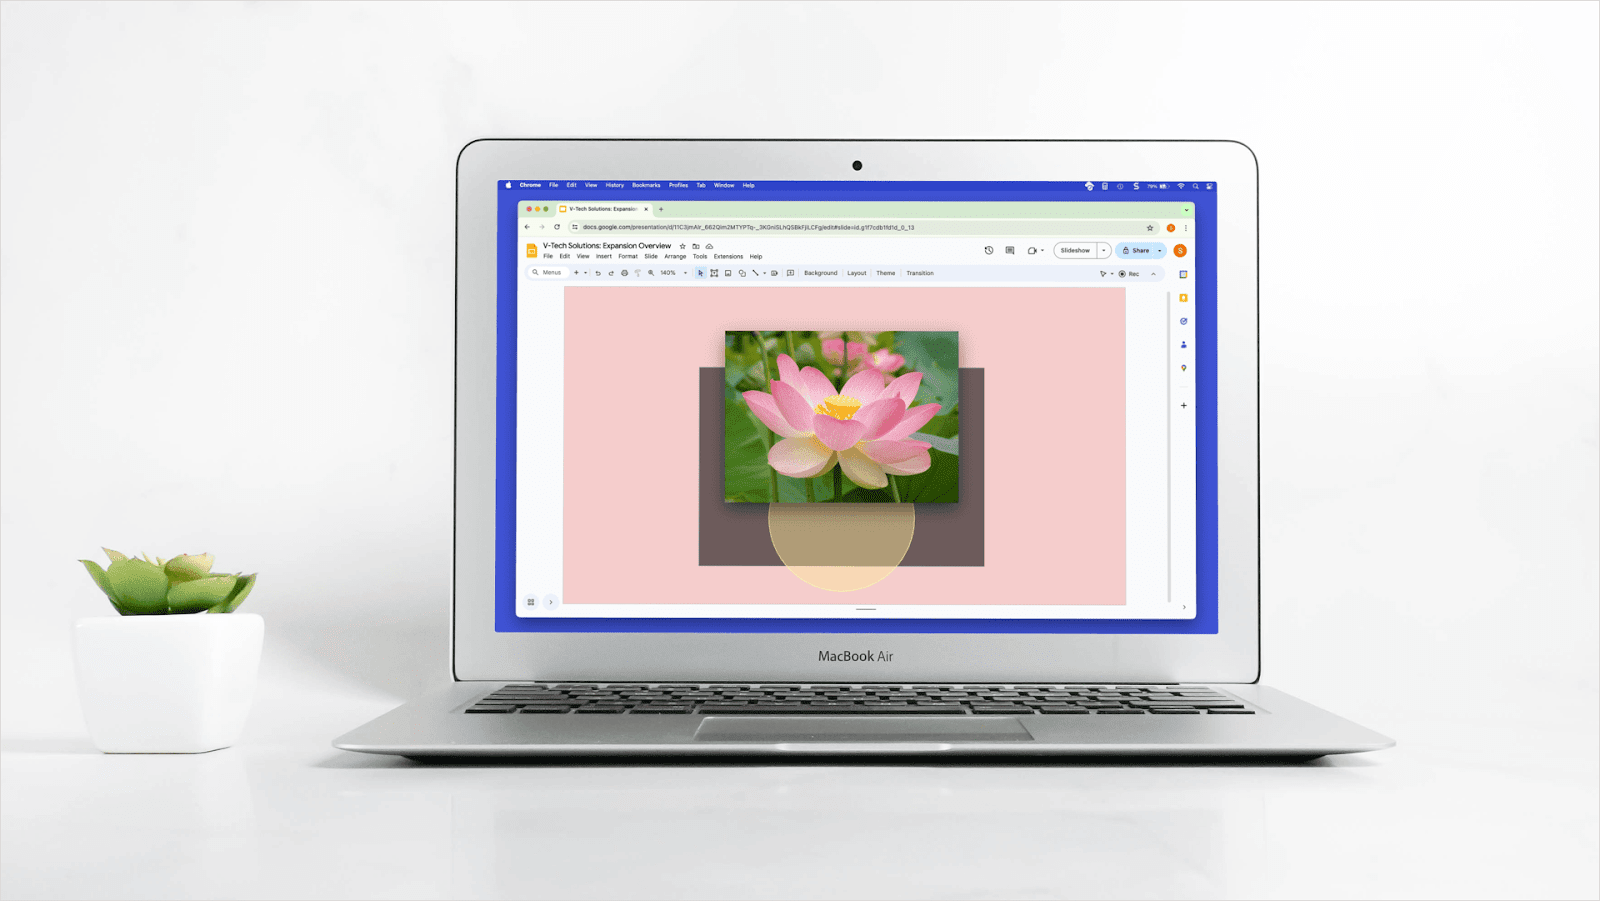
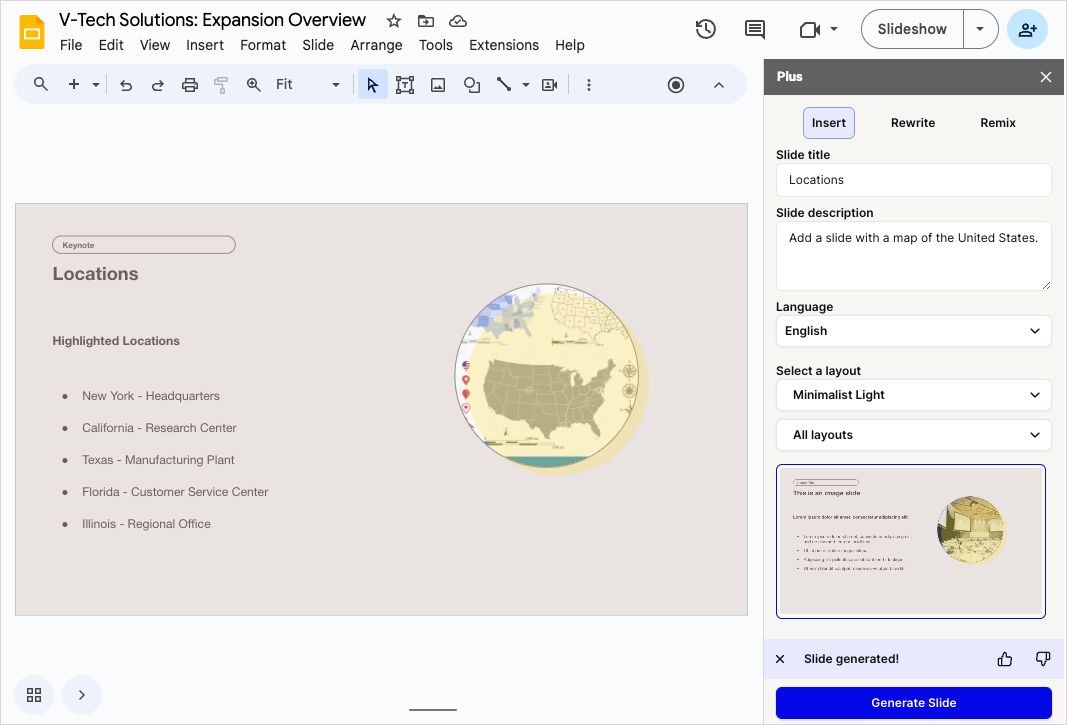
You can also edit existing presentations with Plus AI and insert slides with images that are pre-processed with a bit of transparency already added. This can save you a ton of time!
Here, we instructed Plus AI to insert a slide with a map of the United States. As you can see, the image is formatted nicely and gives us exactly what we needed for our Locations slide.
To get started, install the Plus AI for Google Slides and Docs add-on. Then, check out the free trial by opening the Extensions menu and choosing Plus AI. Alternatively, visit Plus AI on the web to check out the entire feature set.
Conclusion
If you have a shape that you want to see through, whether slightly or completely, you now know how to change transparency in Google Slides with flexible options. For a tool that can do more than help you with your slideshow’s appearance, consider taking Plus AI for a spin and see why it’s among the best AI presentation makers.
Do you use Microsoft PowerPoint in addition to Google Slides? Look at how to use ChatGPT to make a PowerPoint presentation.
FAQs
How do I change the transparency of the font in Google Slides?
An easy way to make font transparent in Google Slides is to use Word Art and set the fill color to be transparent. Go to Insert > Word art and enter your text. Then, select the text and use the Fill color menu in the toolbar to choose Transparent.
How do I reduce transparency in Google Docs?
Like in Google Slides, you can make shapes transparent the same way in Google Docs. Select the shape, open the Fill color menu in the toolbar, and pick a preset, customize the transparency, or choose Transparent.
How do I change opacity in Google Slides?
You can change the opacity for a photo or picture in Google Slides easily. Select the image, go to Format > Format options, and use the Opacity slider in the Adjustments section of the sidebar.