There are several tools and resources that will help you convert a set of slides in PDF format into a Google Slides presentation or PowerPoint presentation.
While those are great solutions if you already have a PDF in slide format, if your content is a normal text document, you need to add another step to convert your text into slides first.
This article walks you through the process of converting a text PDF (or any other text document) into a PowerPoint or Google Slides presentation.
{toc}
Method 1: Use an AI presentation maker
Step 1: Extract text from the PDF

The first step of this process is extracting the text from your PDF document. There are a few different ways to do this, depending on what type of PDF viewer you use, and what options are available to you:
- Open your file in in Adobe Acrobat, and choose File -> Save As -> Text or File -> Save As Other -> Text.
- Use an online PDF to text converter (examples)
- Open your file, press Control+A to copy all of the text
Step 2: Get the Plus AI add-on for Google Slides
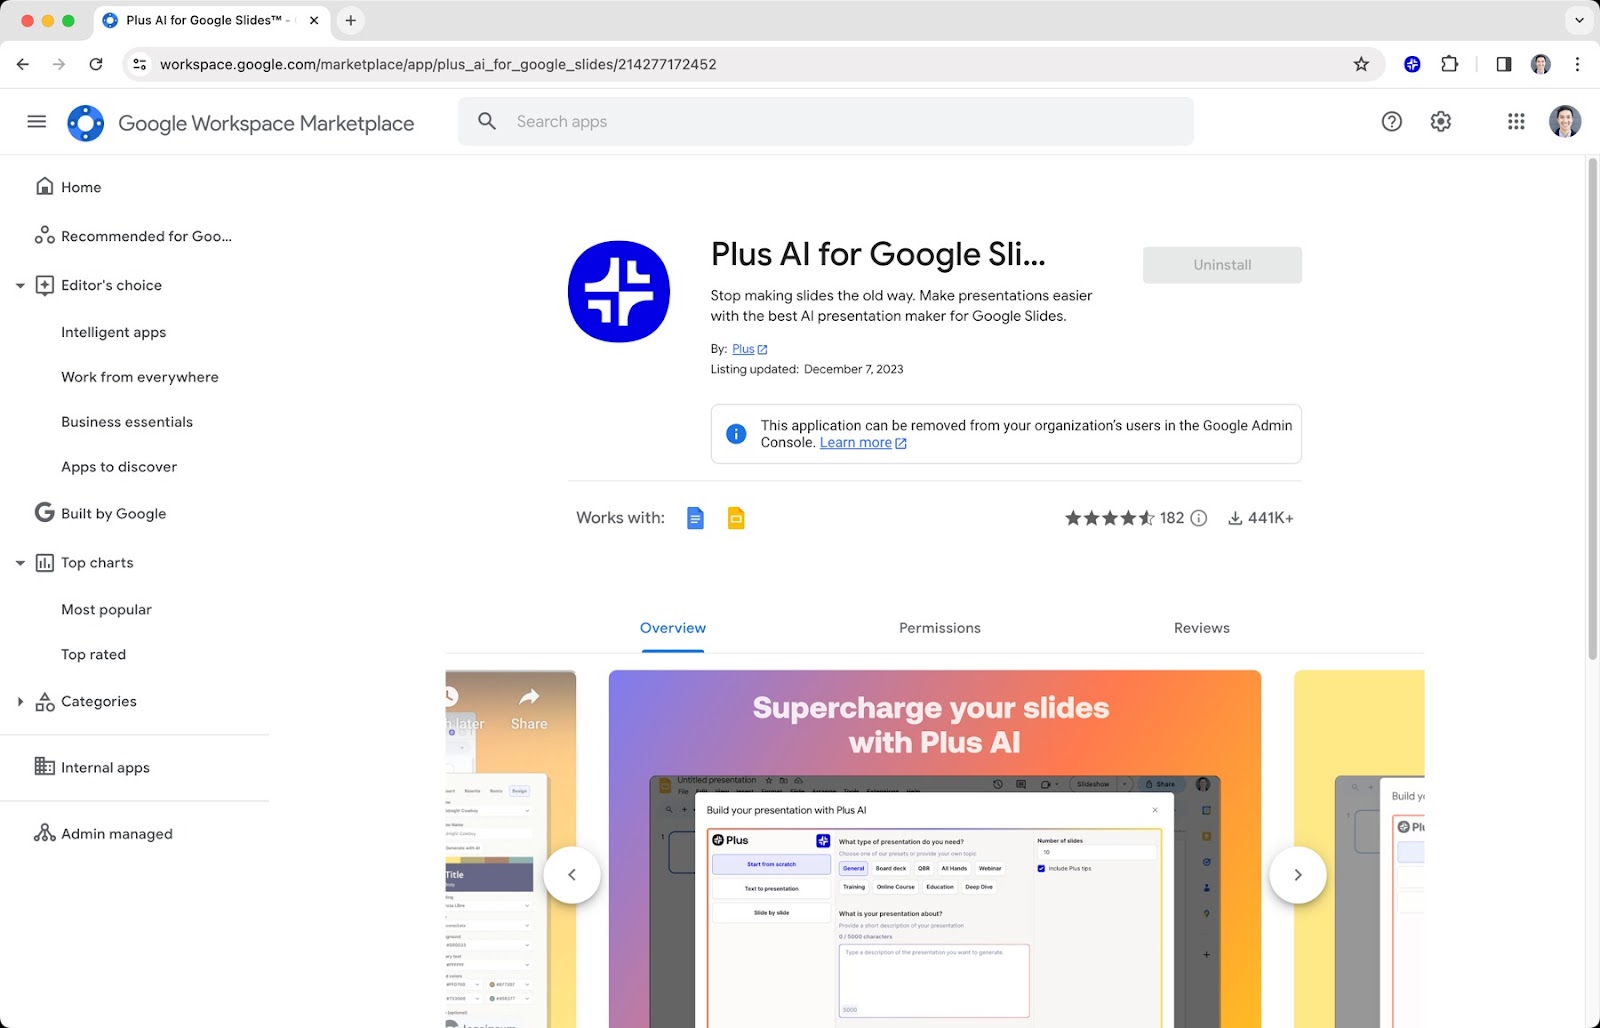
Plus AI is an add-on for Google Slides that allows users to create and edit presentations using AI. You can install the Plus AI add-on for free from the Google Workspace Marketplace.
To use Plus AI, just open any Google Slides presentation, click the Extensions menu, and then click "Create a new presentation."
Step 3: Paste the text of your PDF into Plus AI

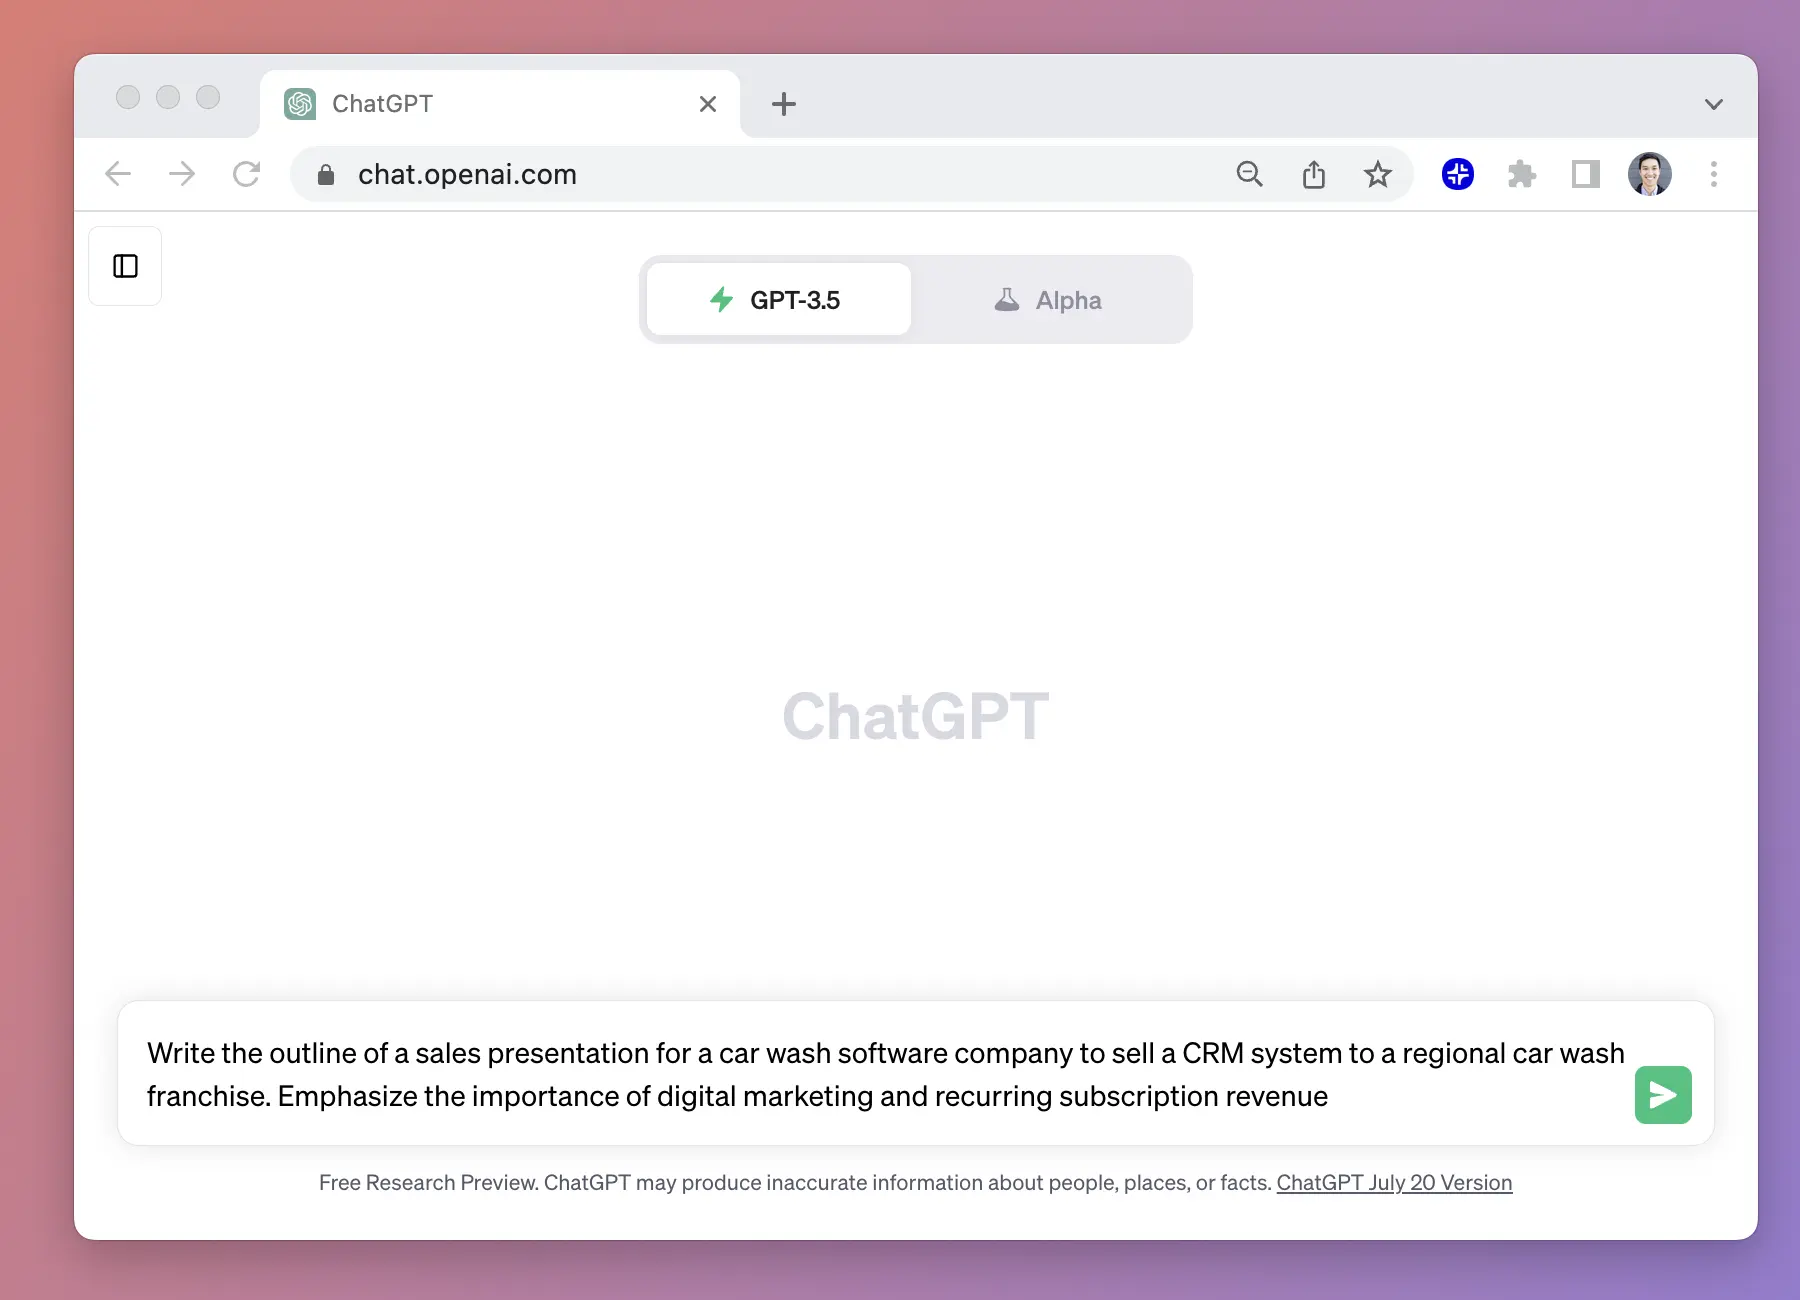
Once you've opened Plus AI, you will be able to select from a few different presentation generation modes. Copy the text of your PDF into Plus AI and then click Generate presentation.
Depending on the length or type of content from your PDF document, you will want to use either "Prompt to presentation" or "Text to presentation" mode.
- Prompt to presentation generally works better with shorter text, and it will take more creative liberties on organizing and styling your presentation
- Text to presentation is designed to be used with longer documents and will adhere more closely to the structure of the original text
Step 4: Edit and finalize your slides
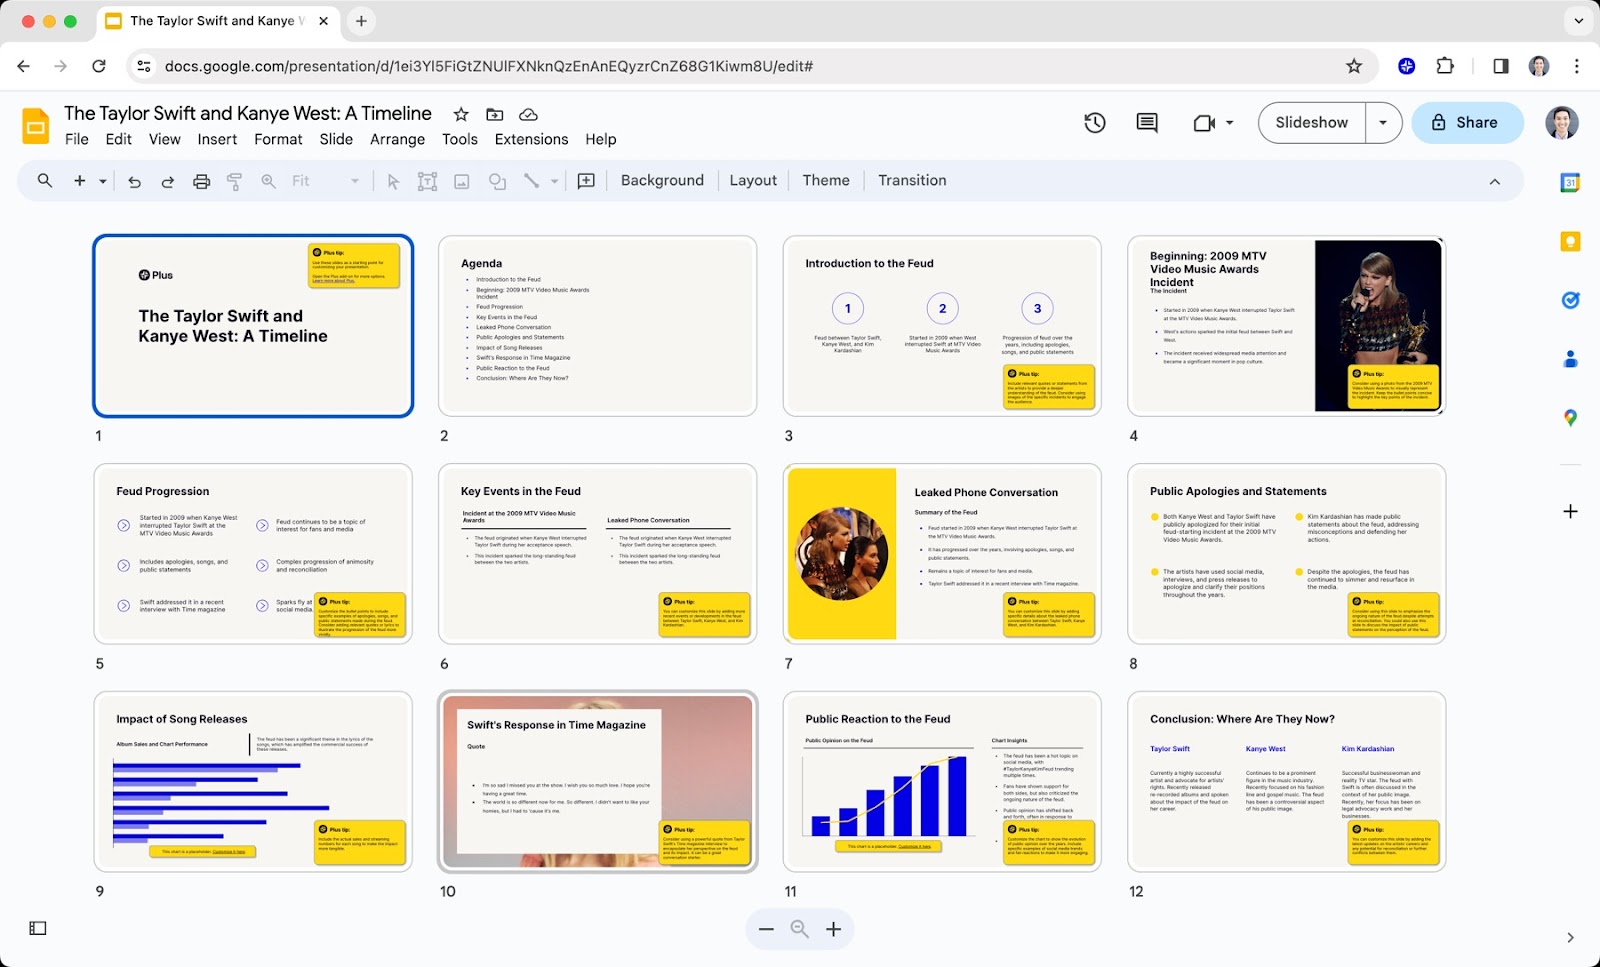
After Plus AI has generated an initial draft of your presentation, you should make sure to review it for accuracy and make any necessary revisions. One thing to look out for is the "Plus Tips" on each side that will provide guidance and advice on how to improve the content of each slide.
Also, Plus AI allows you to insert single slides, rewrite slides, or reformat slides so that you can quickly and easily adjust your presentation to your liking.
Step 5: Share Google Slides link or export to PowerPoint
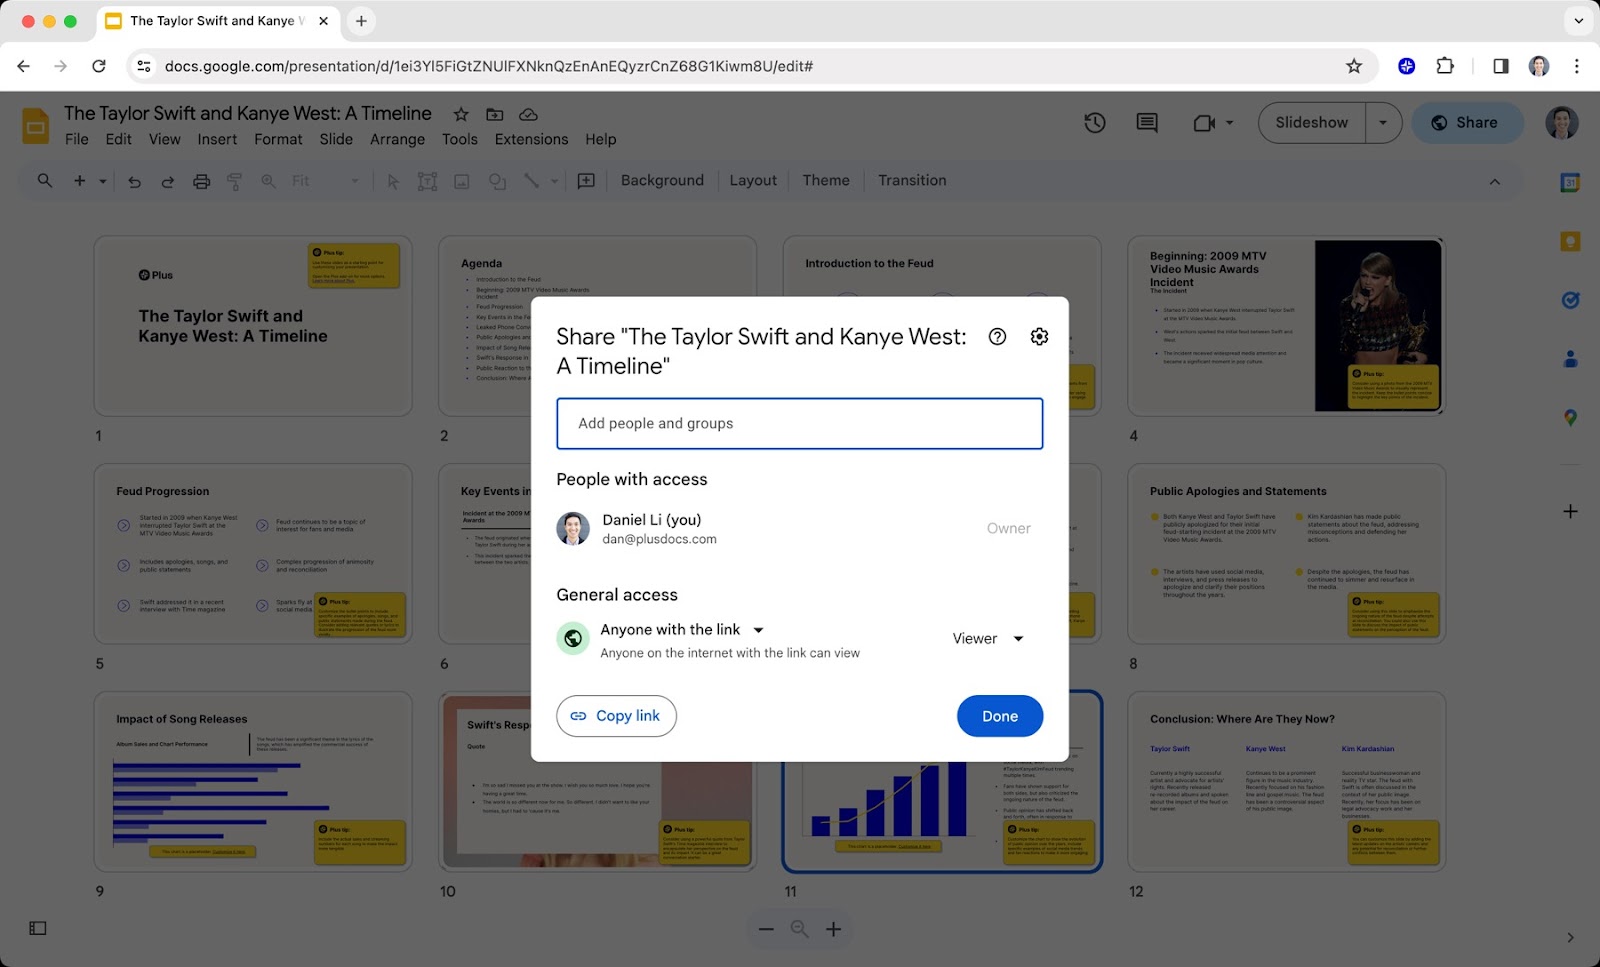
Last but not least, one of the best parts of using the Plus AI add-on is that you can continue to use all of the built-in, native features of Google Slides. This means you can collaborate on your slide deck like a typical Google Slides presentation by sharing links, allowing commenting, etc.
Alternatively, if you work with people who typically use PowerPoint instead of Google Slides, you can easily export your Google Slides presentation as a PowerPoint file and share it as an attachment.
Method 2: Manually plan and create your presentation
If you don't want to use an AI tool like Plus, there is always the option of manually converting the content of your PDF into a presentation. This is more time-consuming, but it should lead to a great presentation, and we have a bunch of tips on how you can create a great slide deck.
Step 1: Create a presentation outline based on your PDF
The first step of creating your new presentation is to write a presentation outline. To create a presentation outline, start by writing down the three key points you want to get across to your audience, along with the supporting data for those key points.
Then, add a start and end to the presentation by thinking about what type of introduction you want to use to hook your audience and what you would like to reiterate in the conclusion of your presentation. You should be able to get most of this information from your PDF, but you will need to adapt the content to make it more engaging for a presentation.
Tip: If you convert your PDF into text, you might also be able to ask an AI tool to help summarize or outline the contents of the PDF.
Step 2: Confirm how many slides you need
After you have a rough outline, you can start working on the slides themselves. To plan out the exact number of slides and format of the slides, you might want to use our guide on how many slides do I need for an [X] minute presentation. This guide will help you understand how many slides you should expect to present based on the length of your presentation in minutes.
Once you have your outline and your plan of how many slides you will be creating, it's time to get started on crafting the slides themselves.
Step 3: Start creating your slides
One of our key pieces of advice for designing slides that look good is that you should start with the content first. Make sure you know what each slide is supposed to say before you start designing the slides.
One way to do this is to take a single pass through a blank slide deck, and only write the titles for each slide. After doing this, you should be able to read the titles for each slide in the deck and understand the overall storyline of the presentation.
Next, you can start to fill in the details and supporting information for each slide, and find the slide layout or template that best fits the content for each slide.
Other tips to keep in mind as you are creating your slides are:
- Establish an information hierarchy: Organize your information into well-defined sections, limit the number of font sizes, and separate headers from bullets and other types of information.
- Keep styles consistent across slides: Use a template or create a new one to apply consistent styles across all of your slides so that your presentation looks consistent and professional.
- Find the right graphics: Use graphs, images, and typography to help you make your points. But in general, if you use more images, you should also try to keep other parts of your presentation (e.g., fonts, color, information density) simpler.
(For even more tips, read our guide to making beautiful slides)
Step 5: Finalize and share
Now that you've got a first draft of your presentation, it's easier to go back and revise it. Make any edits, add or remove slides, and when you are ready, send it to your coworkers or stakeholders for their feedback.
FAQs
- Why did the text from my PDF become jumbled and garbled? Depending on the quality of your original PDF document, when you output it as text, it might be exported with mis-formatted or garbled text. If your text output looks messy, here are some things you can try:
- Opening the PDF in another PDF viewer
- Uploading and importing the PDF into Google Docs
- Reprinting the PDF at a higher resolution and trying again
- Can I convert other text documents to presentations using AI? Yes, you can use Plus AI with any type of text document or text input.
- Can I convert a PDF document directly into a PowerPoint? Yes and no. You can convert a PDF document into a PowerPoint file, but if the PDF is not formatted as slides, you will just get slides that look like pages of a document. If you want to intelligently transform text into a presentation, you need to use an AI tool like Plus AI.