Coda is a powerful tool created to combine the work of documents and spreadsheets. It combines the ease of use of a word processor with the power of a database, allowing users to collect, store, manipulate and analyze data.
Coda allows people to create flexible and customized structures like lists, calendars, wikis and Kanban boards, and offers benefits far beyond what traditional documents can provide. It also offers many integrations to other applications like Google Sheets.
Its user-friendly interface makes it easy for anyone to get started building powerful apps without any prior knowledge or experience with coding or programming languages.
Why do you need a Google Sheets–Coda integration?
Are you looking for an efficient way to manage your Google Sheets data and accelerate workflows? Embedding Google Sheets into Coda is a great solution. You can access all the editing, collaboration, and organizational functionality of Google Sheets without ever leaving your Coda workspace.
In this blog post, we'll discuss how to get started with embedding sheets in Coda — the no-code way. You don’t need any APIs, scripts, or write complex code that intimidates users.
So, if you're interested in unlocking powerful new possibilities of quick embeds in less time with fewer hassles, keep reading – we've got you covered.
How to Embed Google Sheets into Coda
Embedding Google Sheets into your Coda document can be done in two different ways. We’ll go through both methods, and you can choose the one that suits your needs.
Method 1: Sync (and embed) via Coda’s Google Drive Pack
To use the import tool and bring your Google Sheet into Coda, you need to do the following steps:
Step 1: Sync your Google Drive with Coda
Before you can begin embedding links from your Google sheets, you need to first authenticate your Google Drive account to sync with Coda. This method works for any type of Google Drive content, but we'll focus on Google Sheets here.
This step will only be required the first time you import from a Google Account. But if you’re part of a team or have multiple drives, this step adds up. It means setting up authentication for every team member’s Google Drive and asking for permissions from an external vendor, or client, who is collaborating with you on the Doc.

Step 2: Embed inside Coda
Once your Google Drive has been synced, you can embed links by typing “/” on your document canvas inside Coda.
Under the ‘Embed’ header, select the Google Drive icon and paste the shareable link of the Google Doc you would like to import. Check out the GIF in action below for a step-by-step visual guide.

And that’s it, you’re done—Your embedded Google Sheet is ready to be edited and managed in Coda!
Using this method embeds the full web view of Google Sheets in your Coda doc, which is great if you want to edit the Sheet in line. However, if you only want to embed a view of a chart or table to share with your team, this may not be exactly what you want. In that case, check out Method 2 where you can embed a “Snapshot” of part of a Google Sheet in Coda.
Method 2: Use Plus for your Google Sheets Coda Embeds
The first method above is a good option for embedding Google Sheets using Coda’s Pack for Google Drive integration if you only have one drive to sync, and you need to edit your Sheet within Coda. You might want an easier solution if you just need to share a single view from a Google Sheet.
With Plus, you can embed anything inside Coda, without the need for any complicated integrations. Here’s how you can get started:
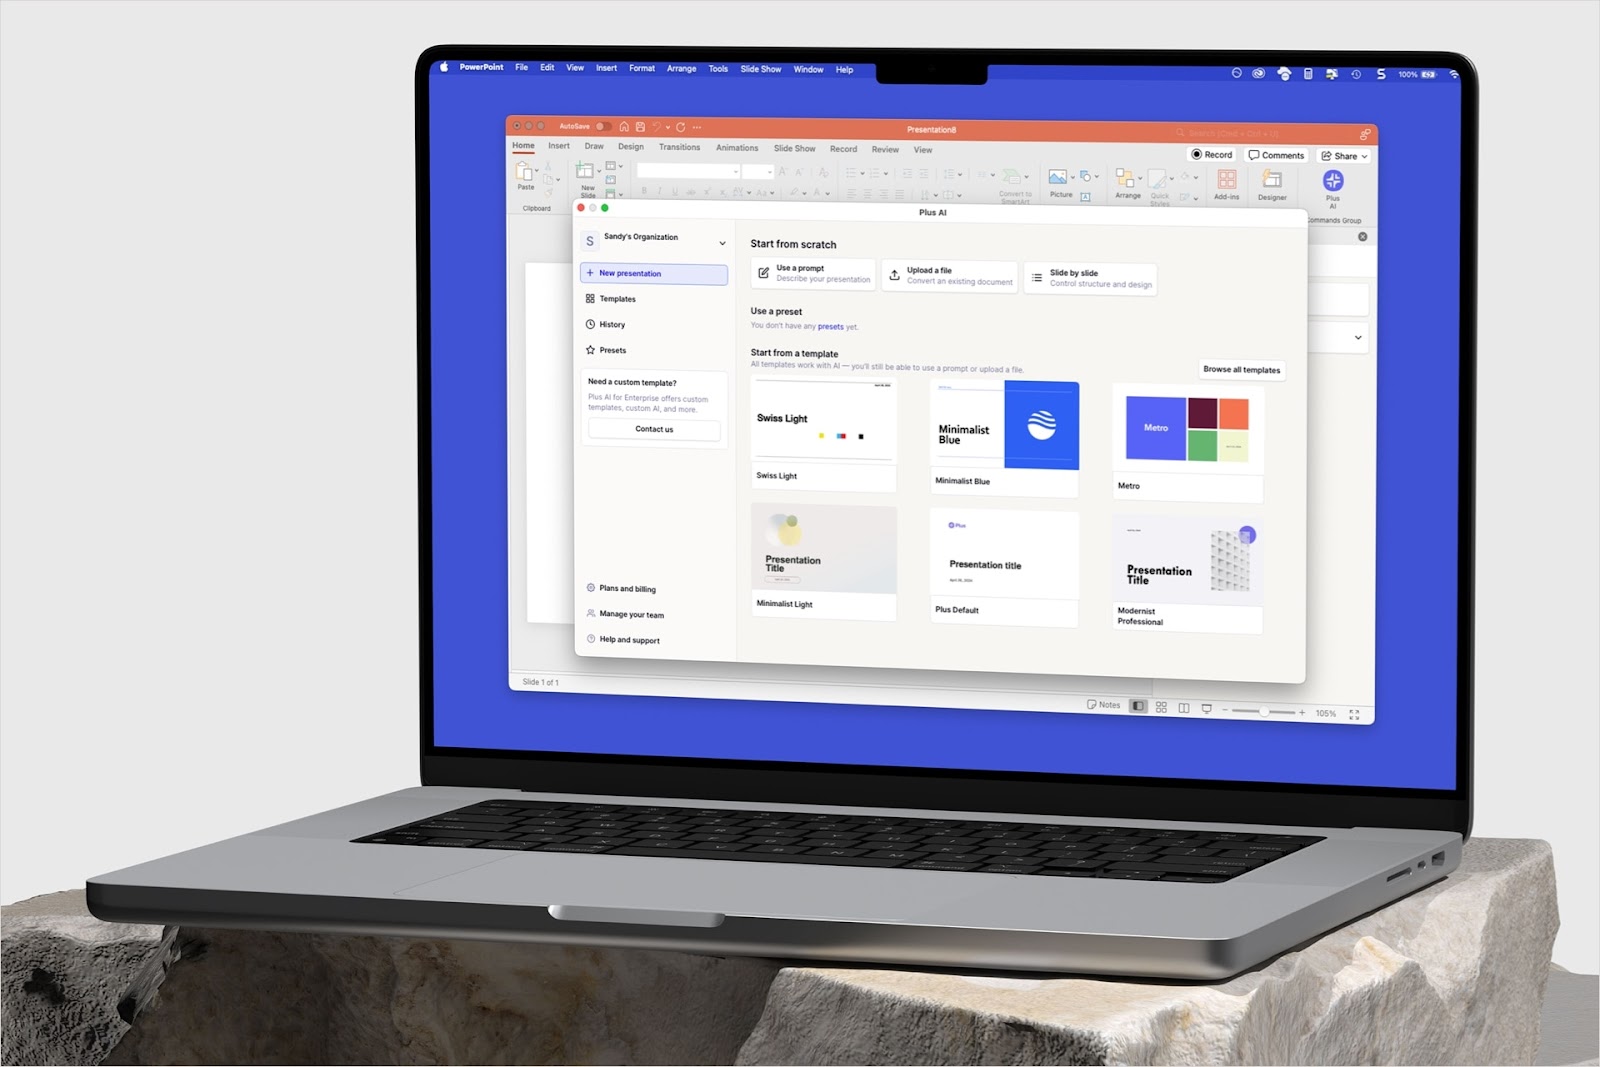
Step 1: Set up your account and install the extension
To use Plus, request your free invite to our closed beta, and you’ll receive a link to install the Plus browser extension. After installing the extension (and pinning the Plus extension to your browser) open the Google Sheet that contains the chart or data you want to embed in your document.
Step 2: Take a Snapshot of your Google Sheet with Plus
Click on the Plus icon in the top-right corner of your browser. Click on the “Take a Snapshot” button. To take a Snapshot, draw a box around the area that you want to be captured. It’s as simple as taking a screenshot from your computer. A confirmation window will appear on your screen when it is successful.

Step 3: Copy the URL of your Snapshot and paste into Coda
Your Google Sheet is now available in Coda! To embed it, click on the Plus extension on your browser, and copy the URL of your snapshot. Paste the URL of your Snapshot into your Coda document after typing in “/embed”. That’s it, you’re done!

You can adjust the size and positioning of the Snapshot based on your preferences or document layout requirements, making this an easy way to add new data without fussing over messy integrations ever again.
Also, if you’re looking to embed your Google Sheets into Notion next, here’s a step-by-step guide.
To wrap up:
Regardless of which method you choose from this guide, you’ve taken an important step towards helping your team collaborate more efficiently. By embedding your Google Sheet, you and your team can now access data in real-time—no need for numerous emails or annoying attachments.
If embedding Google Sheets (or just about anything else) into a Coda document sounds like it would benefit your workflow, Plus can help. With just a few clicks, you can easily embed existing Google Sheets data into your Coda docs.
When it comes to creating custom data dashboards in Coda, Plus makes the process a breeze by allowing you to take Snapshots of tools like Google Sheets, Google Calendar, and Salesforce. Say goodbye to complex integrations, permissions, and hassles. Plus provides an intuitive way of seamlessly embedding any app right inside of Coda.
So why wait? Try embedding your Google Sheets into Coda with Plus today to get the most out of your data. Sign up for Plus at the bottom of this page—you’ll be amazed at what you can do when all of your apps are all in one place!