When you want to make an image or GIF transparent, you can adjust its opacity. Luckily, you can do this using a built-in feature if you’ve already added the image to your Google Slides presentation.
Here, you’ll learn how to change opacity in Google Slides as well as revert the image if you don’t like the result. For a simpler way to enhance the appearance of your presentation, we’ll also explain how Plus AI can provide the exact look and feel you need for your slides.
{toc}
Opacity versus transparency
Many people confuse the terms opacity and transparency. Before you change a picture or GIF on your slide, it’s good to understand how it’ll affect it.
In basic terms, opacity stops light from showing through an image whereas transparency lets light show through it.
Google Slides once had a Transparency adjustment slider but has updated this slider to change Opacity instead.
Additionally, you cannot change the opacity for a shape or video in Google Slides like you can for a photo, picture, or GIF. This is simply because there’s no built-in feature for it. Alternatively, you can use a third-party editor and add the shape or video to the slide after you adjust its opacity.
If you’re ready to get to it, here’s how to change opacity in Google Slides for an image.
Change the opacity for an image in Google Slides
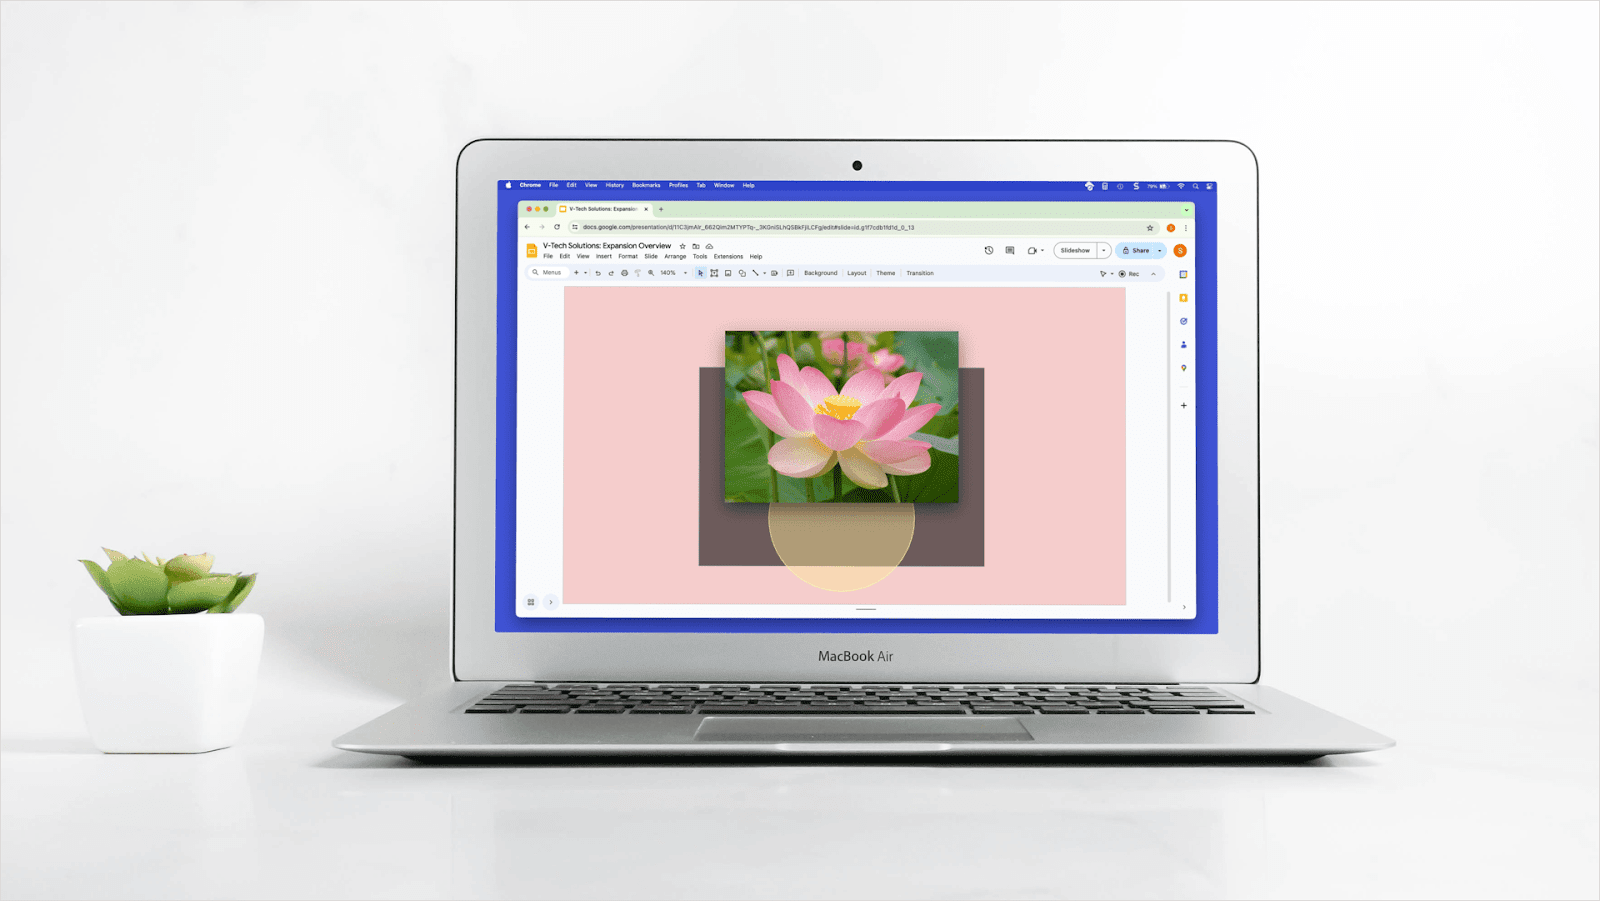
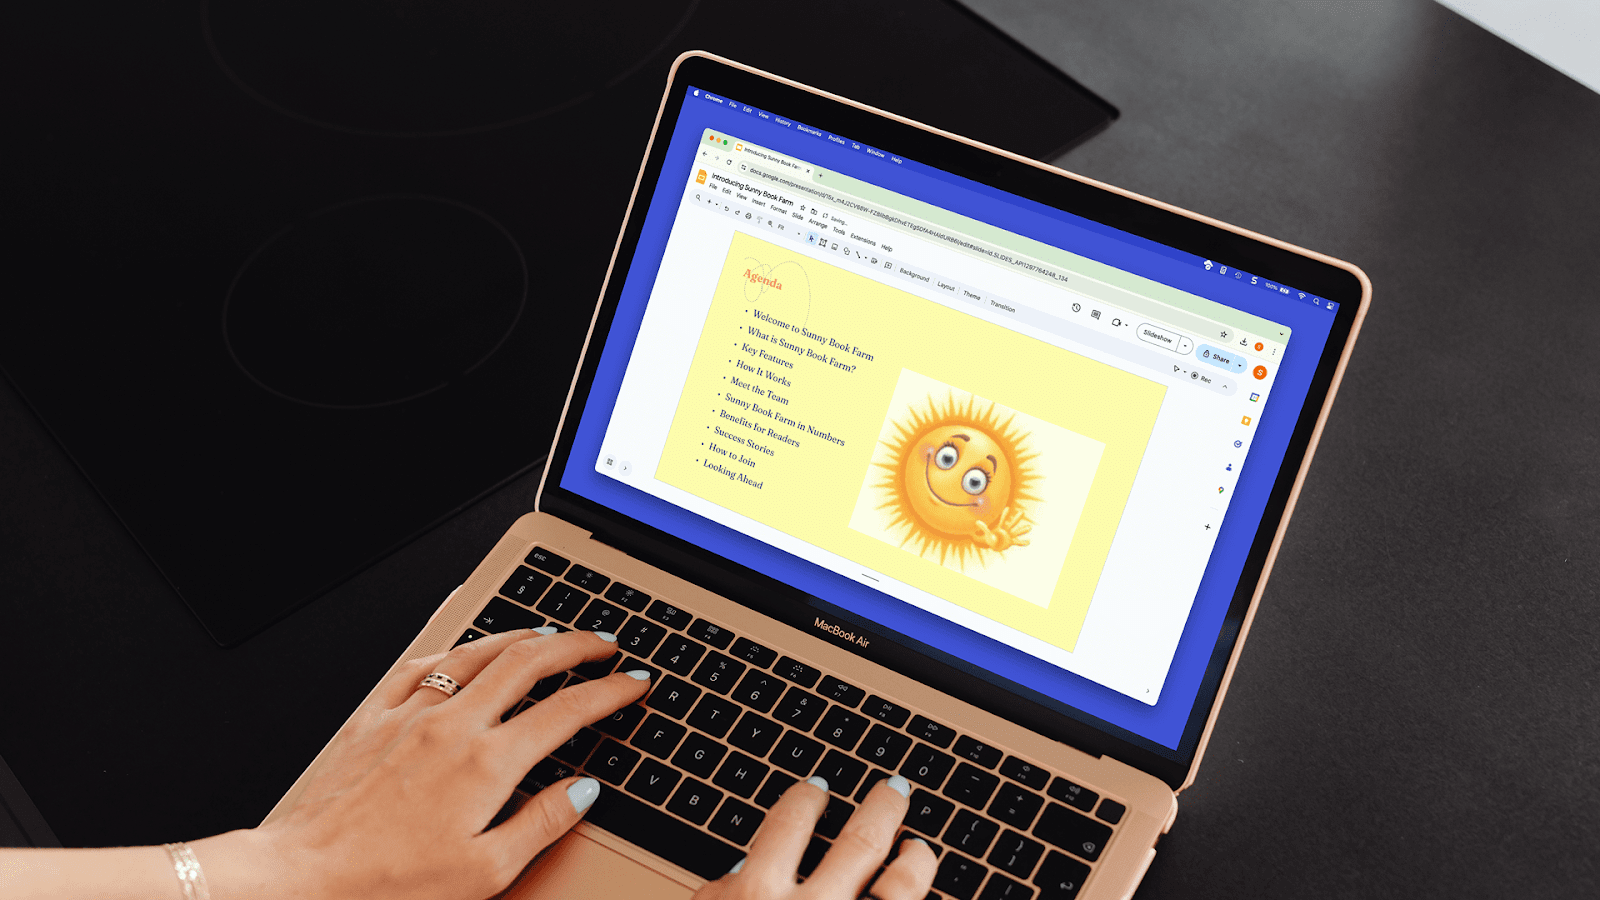
Insert the photo, picture, or GIF on your Google Slide as you normally would. Keep in mind that you can make additional changes to your image like resizing or cropping it, before or after you change the opacity.
- Select the image on your slide and do one of the following:some text
- Click Format options in the top toolbar.
- Go to Format > Format options in the menu.
- Right-click and pick Format options.
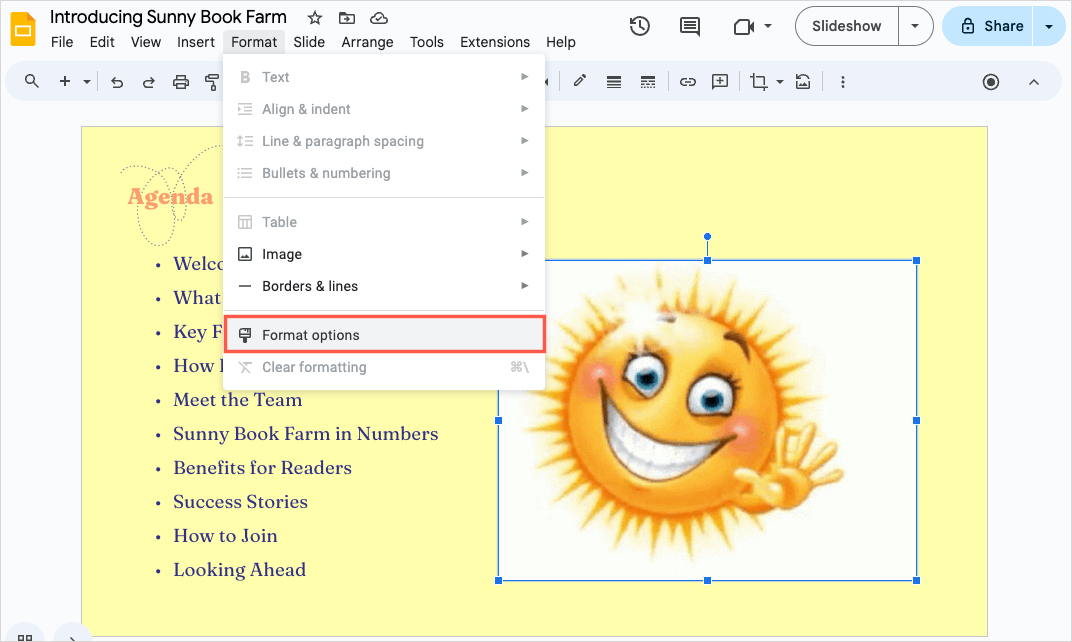
- When the Format Options sidebar opens, click Adjustments.
- Drag the Opacity slider to the percentage you want. You can also enter a specific percentage in the box to the right or use the arrows to move the opacity amount up or down in small increments.
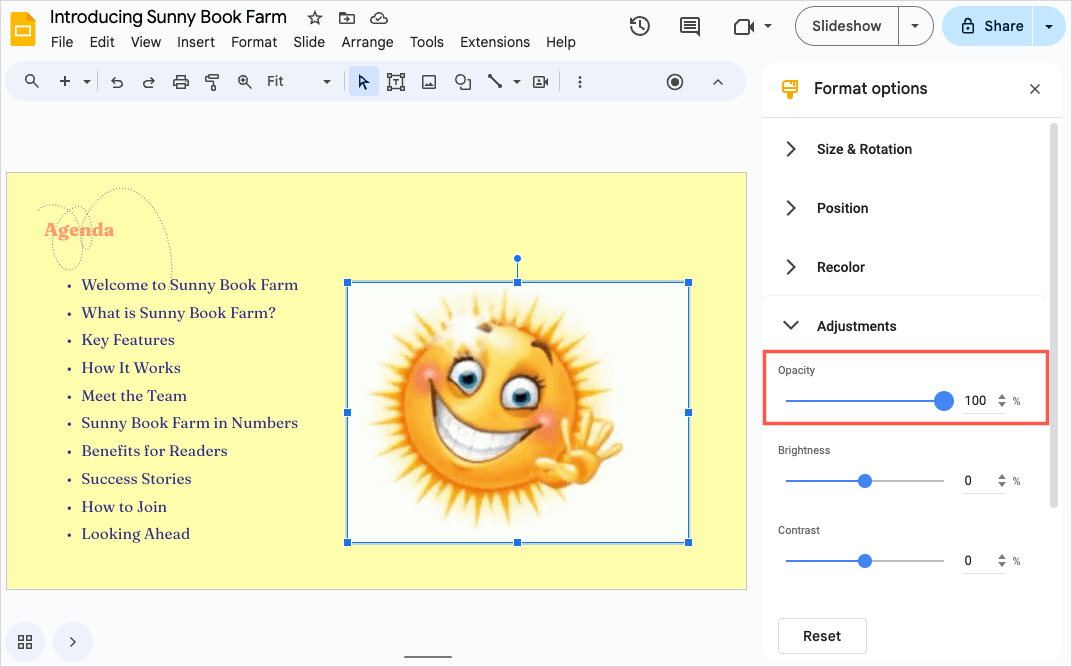
- You’ll see your image update automatically as you adjust the opacity. This lets you continue to change it until you reach the desired opaqueness.

When you finish, use the X on the top right of the sidebar to close it.
Reset the image
If after you change the opacity in Google Slides, you want to revert the image to its original state, this is doable. While you can use the Undo button in the toolbar, this reverts each change in order which can take time if you change the opacity multiple times or make other edits to the presentation.
Instead, right-click the picture or GIF and pick Reset image or reopen the Format Options sidebar and pick Reset at the bottom.
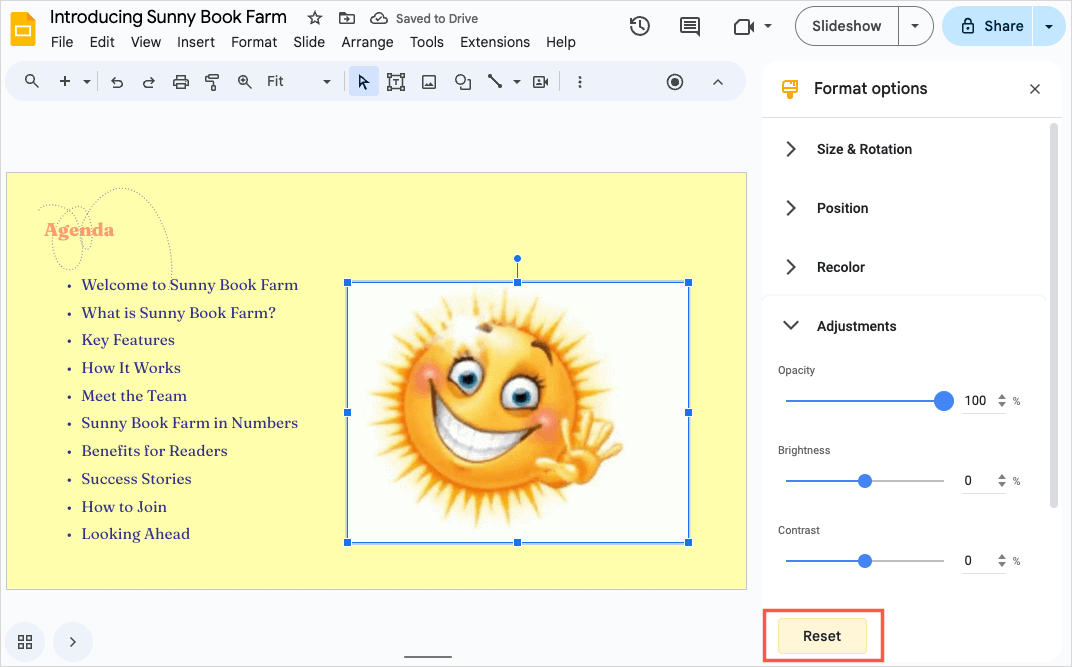
You’ll then see your image as it was when you first inserted it on the slide.
Improve the appearance of slides with Plus AI
Crafting slides that look good can sometimes be a challenge. With a tool like Plus AI, you can receive help creating the ideal appearance for your Google Slides presentation. Using Plus AI’s templates and themes, you can build an attractive slideshow or edit an existing one to spruce it up with images.
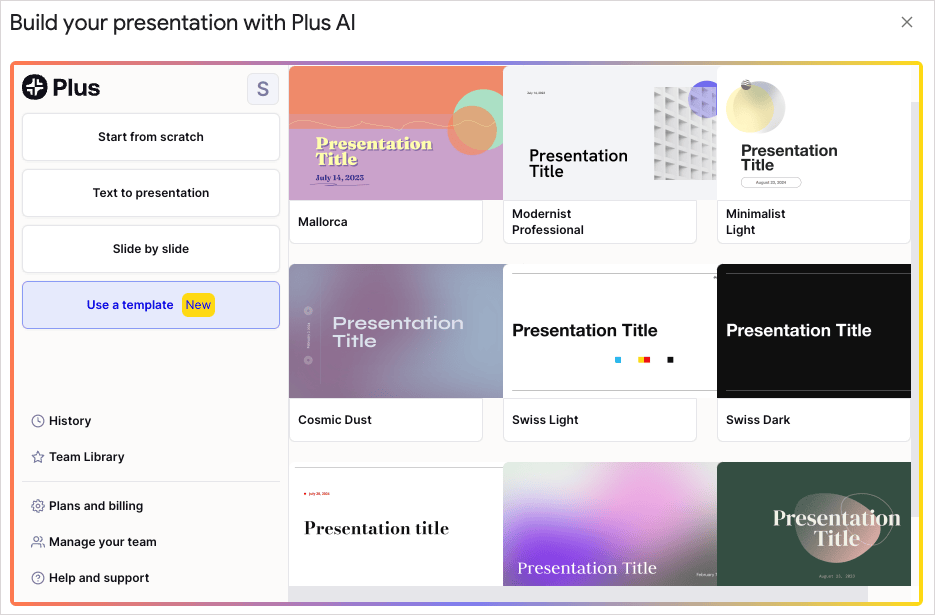
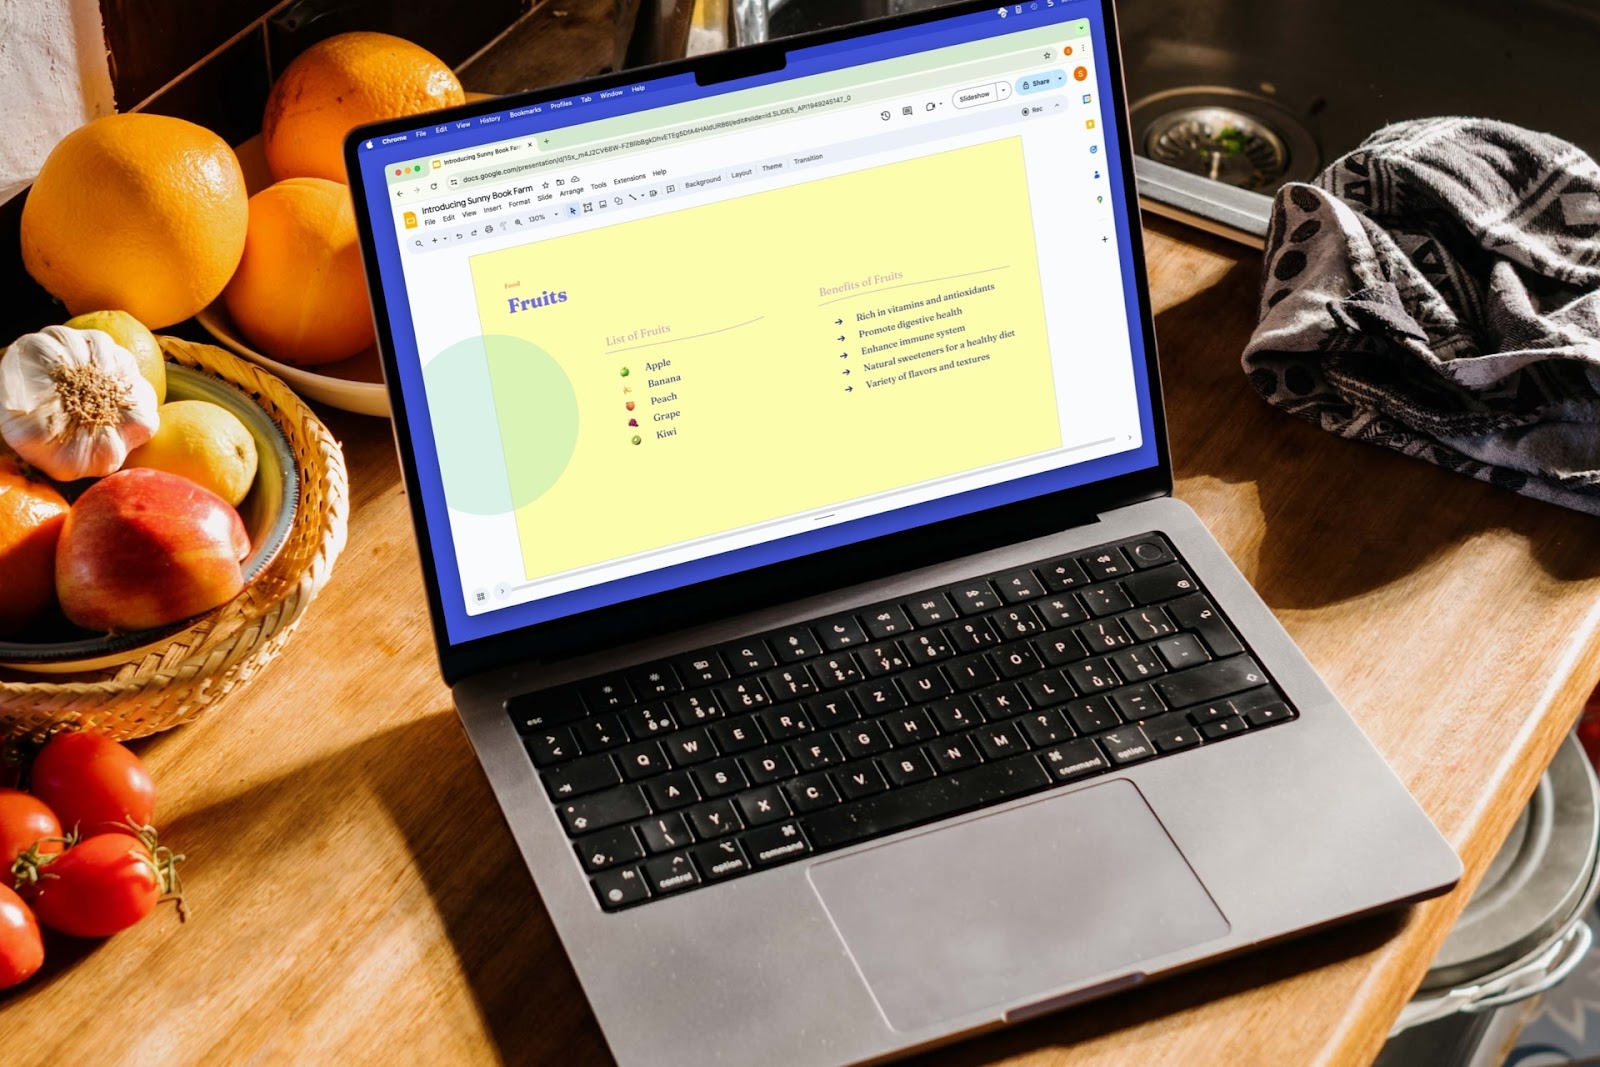
After you install the Plus AI for Google Slides and Docs add-on, select it in the Extensions menu to create or edit a presentation. Here, we’ll ask Plus AI to insert a slide using a chosen template with a summary and picture of a book.
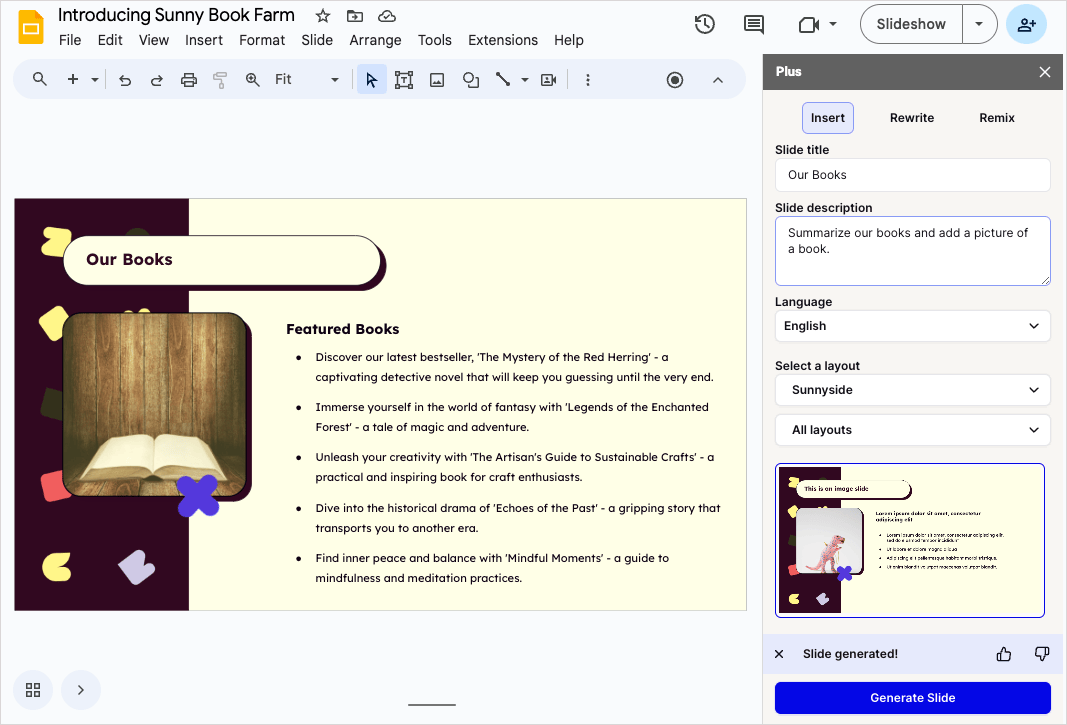
Because an eye-catching presentation is important, you can rely on Plus AI to handle that part so that you can focus on your content instead. Insert a new slide, tell Plus AI the kind of image you want, and watch your presentation come together.
Keep in mind that Plus AI’s artificial intelligence can also write or edit your content. This is super helpful if you’re struggling for the right words or are in a hurry to finish the show.
Conclusion
Even though you now know how to change opacity in Google Slides, there’s likely much more to do to give your presentation that “wow factor.” Take Plus AI for a trial run and enjoy all of its features to see how you can create an appealing and informative slideshow with one of the best AI presentation makers.
Need help with a different slideshow tool? Look at how to use ChatGPT to create a PowerPoint presentation.
FAQs
Can you change the opacity in Google Docs?
If you use a photo or other type of image in Google Docs, you can change the opacity the same way as in Google Slides. Select the image, go to Format > Format options, and use the Opacity settings in the sidebar.
How do you change the opacity in a Google drawing?
The opacity features in Google Drawings are the same as those in Google Slides and Docs. This means that you can currently change the opacity for pictures or GIFs. If you save your drawing in a PNG or JPG image format and add it to Google Slides or Docs, you can change the opacity by opening Format > Format options and dragging the Opacity slider.
How do I reduce the opacity of a background image in Google Slides?
Once you use an image as a background in Google Slides, you cannot change its opacity. One option is to adjust the opacity with a third-party editor and then upload the image as the slide background. Another option is to add the image as an element on the slide, change its opacity, resize it to fit the slide, and place it behind the remaining slide elements so that it appears as the background.