Are you setting up a slideshow at a convention or trade show, or maybe in a conference room or waiting area? You can easily set up a Microsoft PowerPoint slideshow to run automatically without a speaker at all. This lets you present your product, service, or company mission to a broad audience without manual intervention.
Here’s how to play PowerPoint slides automatically without clicking to advance through the show as well as how Plus AI can save you time on editing or creating the content.
{toc}
Set up the slide timings or transitions
Before you set your presentation to play on its own, you’ll want to decide on the timings for your slides.
This allows you to display each slide for a specific amount of time before advancing to the next and is especially important if you use effects for your slides.
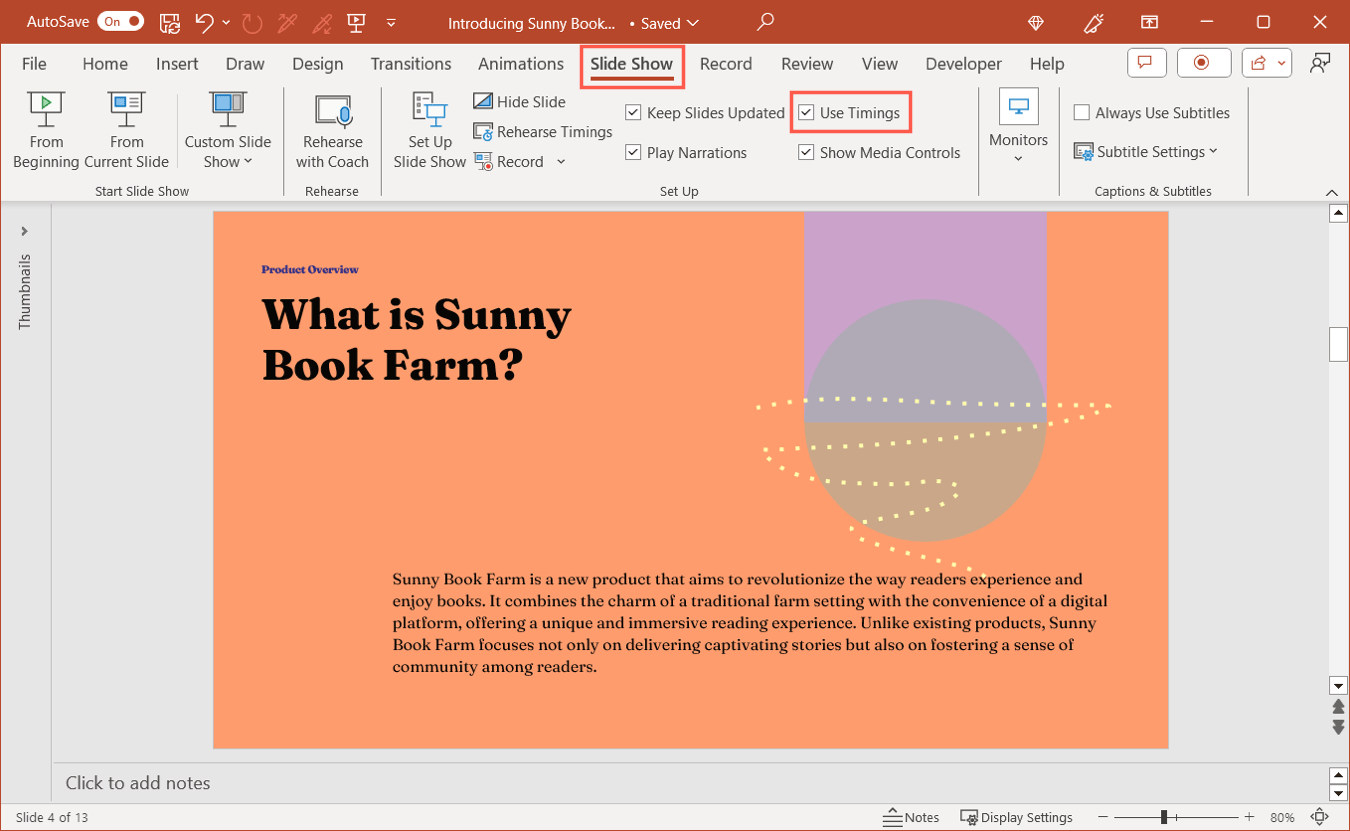
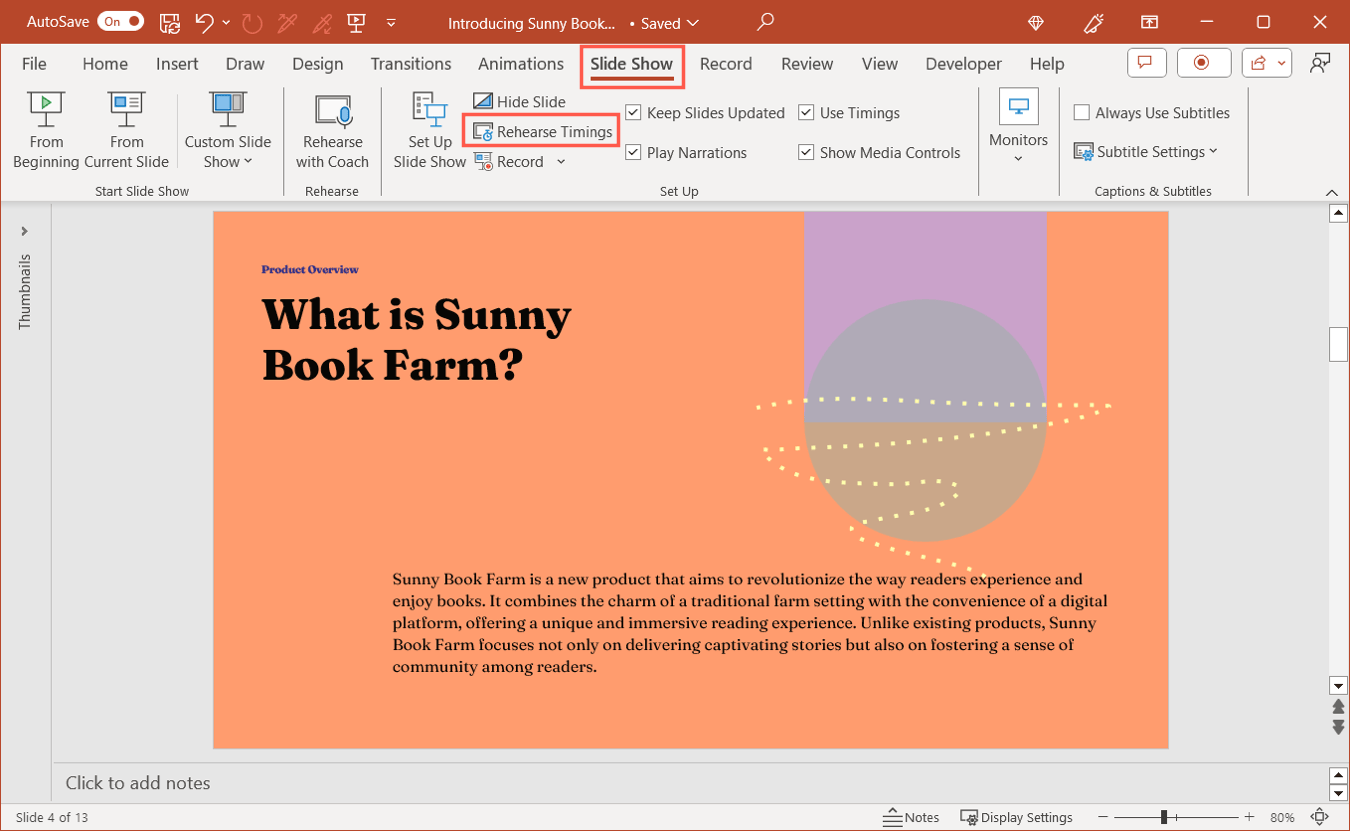
For both of the settings below, go to the Slide Show tab and check the box for Use Timings in the Set Up section.
Slide timings
With slide timings, you rehearse and record the timings for all slides. Simply move through the slideshow at a normal pace, use the control to advance to each effect and slide, and save the recorded timings when you finish.
- Go to the Slide Show tab and select Rehearse Timings.
- When the slideshow show begins, stay on the first slide for the amount of time you want and click the Next arrow in the Rehearsal toolbar to advance.
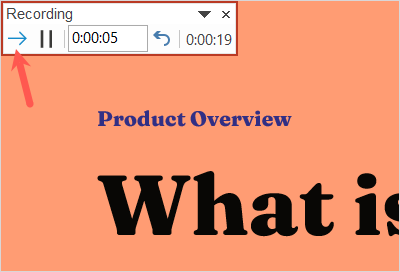
- If necessary, you can use the Rehearsal toolbar to Pause, Play, or Repeat the recording as it progresses.

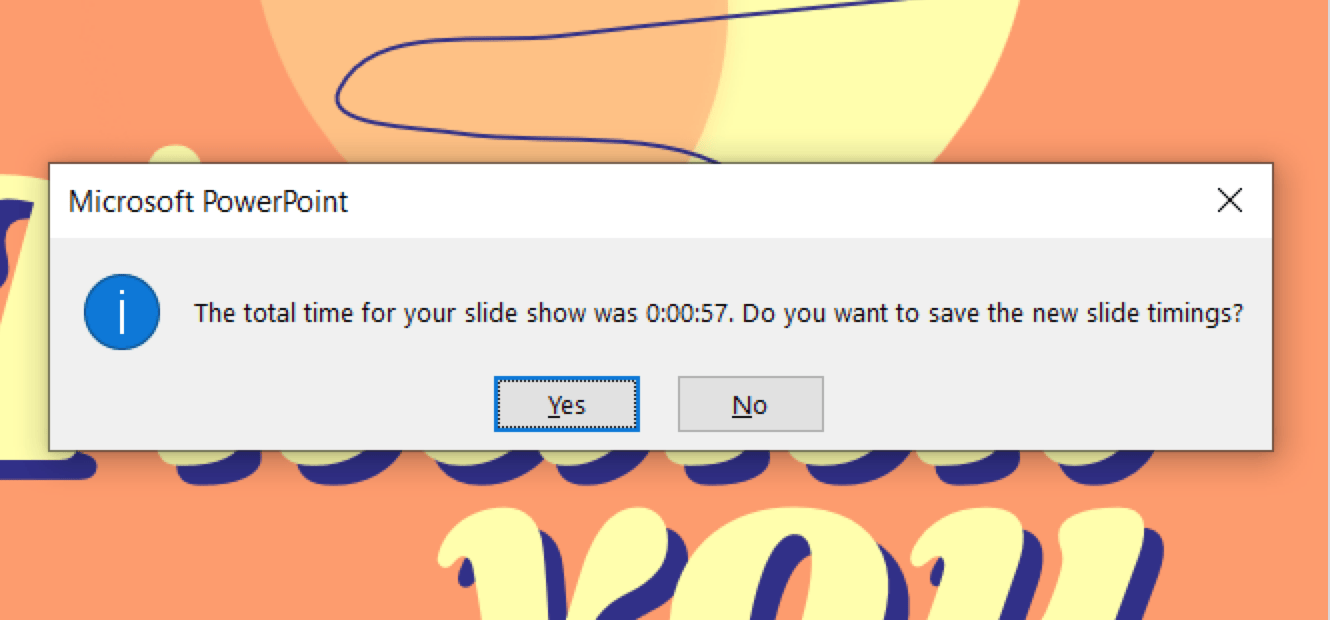
- At the end of the presentation, press Esc (Escape key) and you’ll see a message letting you know the total duration of the slideshow. To save the recorded timings, click Yes.
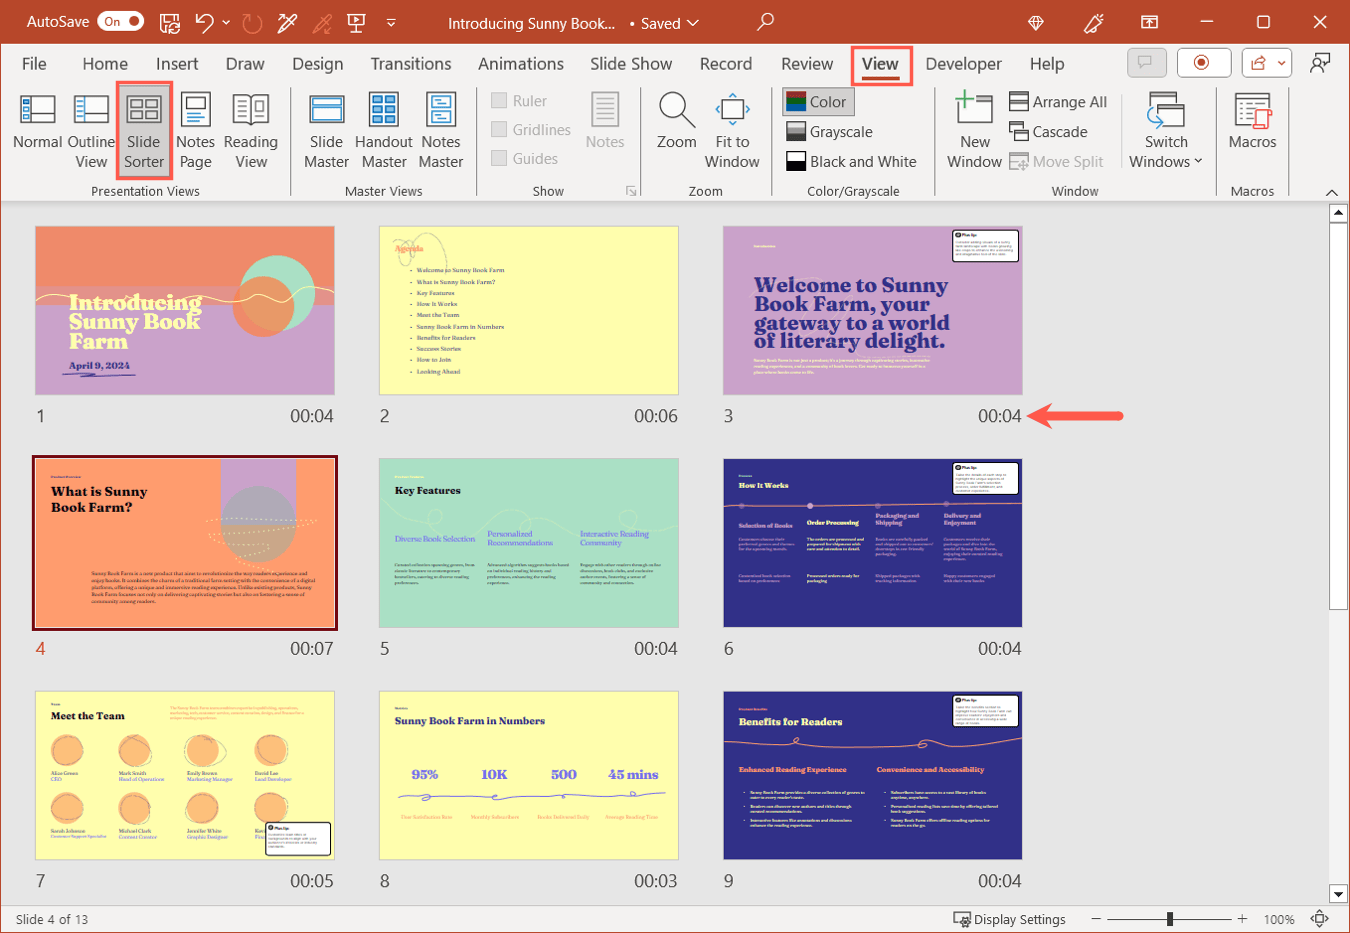
You can review the timing for each slide by going to the View tab and choosing Slide Sorter.
When you set up your presentation to play automatically as described below, your slides advance per the timings you recorded.
Slide transitions
Another way to automatically choose the slide advance timings is using the Transitions tab. If you apply slide transitions to enhance the appearance of your presentation, this is a good option. However, you can choose None if you want to advance the slides without an effect between them.
- Select your first slide and go to the Transitions tab.
- Optionally choose an effect in the Transition to This Slide box and set the Duration for the transition to the right. You can enter a number in seconds or use the arrows to move up or down in small increments.
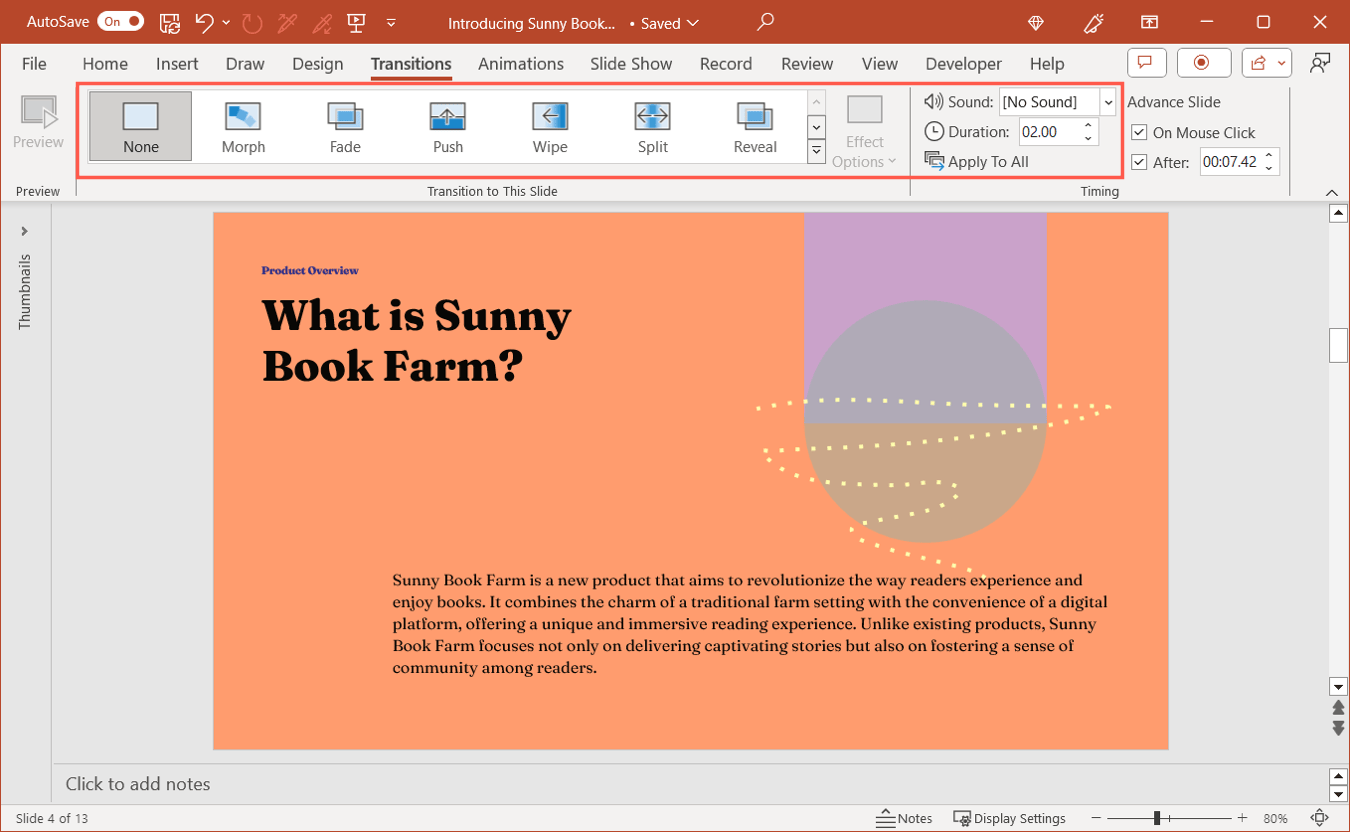
- In the Advance Slide group, uncheck the box for On Mouse Click and check the box for After. Then, enter the seconds for advancing to the next slide to the right.

- Repeat these steps for each slide in the presentation or choose Apply to All.
When you set up your presentation to play automatically as described next, you’ll see your slides advance for the “After” time you entered.
Note: Recording the Slide Timings overrides the Slide Transition “After” settings. If you want to use both, record the timings first and then change the “After” timing for the selected slides.
Make PowerPoint play automatically
Once your slide timings are in place, you can easily set up your PowerPoint presentation to run automatically. Whether you’re revealing a new product or providing an instructional slideshow, you can benefit from this PowerPoint feature.
Tip: New product, new company? Look at these helpful productivity apps for startups.
Open your slideshow in PowerPoint on Windows or Mac and follow these steps to set up automatic play.
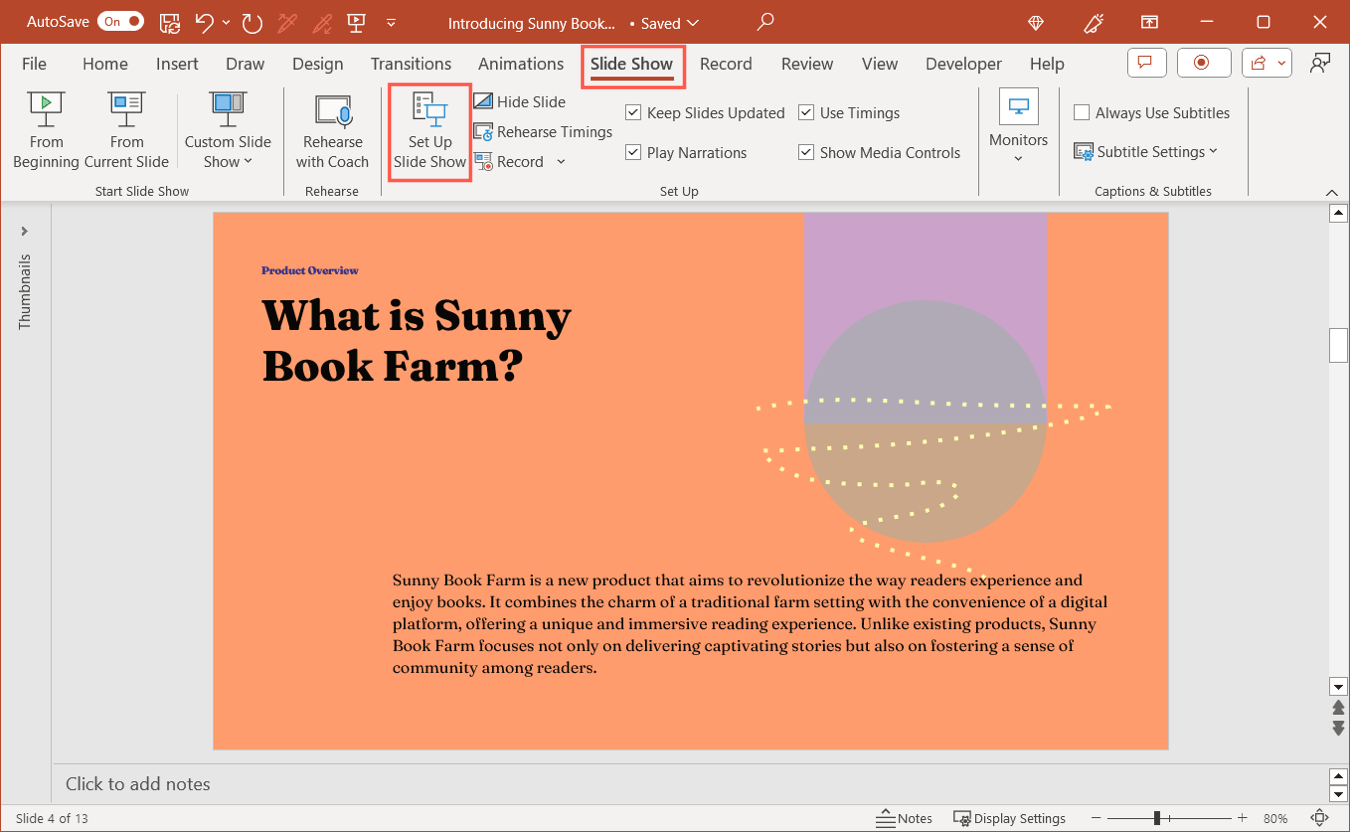
- Go to the Slide Show tab and select Set Up Slide Show.
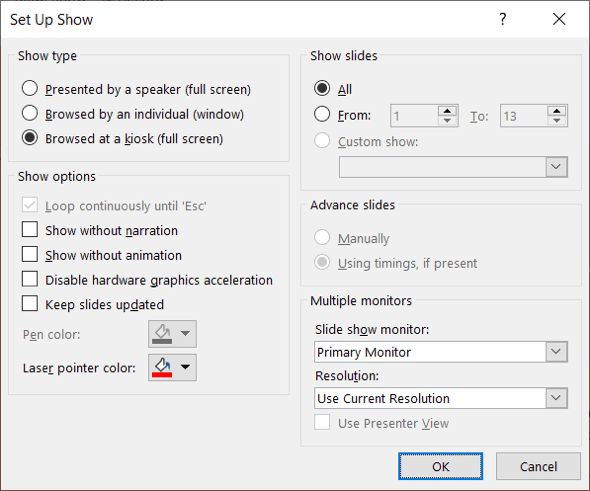
- In the pop-up window, mark Browsed at a kiosk in the Show type section. This automatically loops the slideshow for continuous play and only stops when you press Esc.

- Adjust any remaining settings for the presentation per your preference:some text
- Show options: Check the boxes for those settings you want to use. Note that the Loop setting is marked by default for this Show Type.
- Show slides: Choose all slides, specific slides, or a custom slide show.
- Advance slides: Using Timings is selected by default when you check the box described earlier and works with those timings you set.
- Multiple monitors: Choose the Slide Show Monitor and Resolution (Windows).
- Click OK when you finish.
Edit slides with ease using Plus AI
When you create a self-running presentation, you have to be sure that your slides can speak for themselves. This might require you to adjust the text for clarity or shorten lengthy paragraphs or sentences. Luckily, Plus AI can help you make these types of changes almost effortlessly.

If you are looking at AI presentation makers to speed up your presentation workflow, check out Plus AI. Plus is an add-on that intelligently composes content, arranges slide elements, and more. Once you create or edit a presentation with Plus AI, you can download it as a PowerPoint slideshow and set up autoplay as described above.
Along with rewriting slide content, you can use Plus AI to remix slides for different layouts and create custom designs that you can reuse for future presentations. If you need help from the get-go, you can create slideshows from scratch with attractive templates, custom instructions, and even PDF uploads.
Conclusion
When you can’t be there to walk your audience through the show, you don’t have to postpone or reschedule it; just set it up to play automatically. If that’s not what you need, you can also create informative or entertaining PowerPoint slideshows for patients in a waiting room or meeting attendees who arrive early.
Now that you know how to play a slideshow in PowerPoint automatically, look at how to convert PowerPoint to Google Slides and take advantage of Plus AI.